Isabella Whitworth

probably more than natural and synthetic dyes, wax, resists, and history


Leave a comment

The Dyeing Year

A whole extra pile of mail arrives before Christmas in many British households. This is the seasonal appearance of greetings cards from family, friends, neighbours, and sometimes local businesses. In my case, several cards represent the sole contact I have with ‘old’ friends and I actively anticipate their arrival to hear everyone’s news. News isn’t invariably happy, of course, and the saddest cards are those that don’t arrive at all.

Wax resist and steam-fixed silk dyes on silk pongee, 2020

Almost without exception this year’s cards express the anguish of the past months and the hope that 2021 will be better. Among my extended friends and family there have been job losses, health and financial crises, cancelled celebrations, stranded travellers and separated families. I also learnt of the cards that will not make an appearance.

Wax resist and steam-fixed silk dyes on silk pongee, 2020

It hasn’t all been bad. One of the better outcomes of the year’s crisis has been the communication enabled by such platforms as Zoom. I chat to student friends regularly, and have caught up with people who live abroad or far away, or I haven’t seen for several years. I’ve attended an online conference, several lectures, an AGM, a charity concert, various makers’ fairs, and yoga classes. I’ve ‘met’ longterm online correspondents – and liked them as much as I thought I would.

Wax resist and steam-fixed silk dyes on silk pongee, 2020

The beautiful summer weather assisted a stellar indigo crop to mature and I had enough left over from dyeing to make pigment, and contribute to a research project into Japanese indigo. In the last couple of weeks I delivered a batch of scarves (pictured above) to the Devon Guild of Craftsmen, an organisation that has courageously fought for survival through 2020 and is attracting good sales now that it has been able to reopen. My studio output this year has been meagre because I have been occupied by the complicated business of everyday living, but it felt good to deliver a few new pieces of work at long last. Dr Denim, my contribution to the Guild’s annual Members’ Exhibition, won the People’s Choice Award in November. You can read about much of this work in previous posts.

Thank you for following, reading, contacting me, and commenting. May all your 2021s be an improvement on this stressful year.

Japanese indigo in preparation for pigment


2 Comments

Plant to Pigment: using Japanese indigo

Like many, I felt the urge to grow-our-own veg at the panicky beginning of lockdown. However, I decided that were food to run short, our veg patch wouldn’t sustain us for long. So I took a chance and grew indigo.

In this previous post you can read about how I grew three types of Japanese indigo over the summer and compared some dyed results. I worked on wool and silk.

With the fragrant assistance of 6 sacks of chicken poo I produced my best crop of indigo ever. It grew tall and bushy and cropped heavily in August and September, until flowers started to form. (The general view is that indigo content starts to wane after flowering starts). As the plants are frost sensitive and autumn is definitely here, I am swiftly using up part of the remaining crop to make pigment, preserving the most advanced flowering stems to produce seed. I am obtaining good strong blue from the extractions despite the presence of flowers. At this stage I am picking and mixing leaves from all the plants regardless of type.

A wheelbarrow jammed full of cut stems from all three types of plant. It takes around 3 hours to strip the stalks on my own and a wheelbarrow makes a small jar of pigment

Normally in late summer, groups of local friends plus grandchildren gather to help process each other’s leaves and have fun dyeing day together. It couldn’t happen this year, for obvious reasons. But my crop has been so successful that pigment making has been a very lengthy and solitary process – except when our useful collie intervenes with her personal views on processing.

Many rather more experienced dyers have written about preparing pigment and I have been specially reliant on the advice of Jenny Balfour Paul and Jane Deane, plus the book ‘Singing the Blues’ by John Marshall. Versions tend to differ slightly, but I have produced some respectable-looking pigment.

On the left above you can see stripped leaves in a stainless steel bucket. On the right the leaves are shown post-extraction. Note the blue bloom on the surface

Left above: squeezed out leaves can be composted. On the right, lime has been added and the mixture aerated

On the left above: mixture is being passed through a coffee filter. On the right the dried paste is being ground back into powder.

The pigment making process I used

  • Leaves are stripped from stems and placed in a stainless steel vessel with enough rainwater to cover. Mixture is heated to no higher than 60C (140 F) over about an hour, held for a further hour, then left to cool overnight. I pound the leaves gently with a wooden pole. Leaves are sieved out, and squeezed over the bucket. Squeezed leaves can be composted.
  • Hydrated lime is added to the mixture: I use a teaspoon in my 8 litre vat. I then aerate the mixture with a balloon whisk, or with the wooden pole, or by passing the mixture from one bucket to another. It becomes foamy at the top and the foam will slowly change to blue.
  • I usually transfer the bucket contents to several smaller vessels. Once the mixture settles it is possible to (carefully) pour off the clear liquid at the top of each vessel.
  • The remaining contents are passed through a coffee filter resting in a plastic funnel over a coffee jar, or similar. If the liquid dripping through appears very blue I pass it through again. When the filter only contains blue paste I open it up on a tray and gently scrape off the paste with a spatula.
  • The paste is dried: I put more on the top of the boiler where it is kept gently warm all the time.
  • Mixture is ground in a pestle and mortar. I use a facemask for this stage: the powder easily becomes airborne.

Links

Jenny Balfour Paul Indigo: Egyptian Mummies to Blue Jeans

John Marshall ‘Singing the Blues’

Nature’s Rainbow: Susan Dye and Ashley Walker’s website

Jane Deane’s website


5 Comments

New book: dye lakes and recipes

Since I started teaching natural dyes at West Dean College, I have had a problem. How could I save, transport and use litres of expensive dye not fully exhausted on the course? I travel with two large beer-making flagons containing indigo, but transporting additional containers of weld, madder and cochineal isn’t feasible – and I hate waste.

For some years I have been working with my friend and colleague Yuli Sømme, who commissions me to dye different shades of wool felt for her company Bellacouche, in Moretonhampstead (see link below). If I have pieces of mordanted and wetted-out felt ready, I can dunk it into the vats on the final night at the College, and by the next morning much of the used dye is exhausted and the felts dyed. I can rinse out the felts and take them home in empty buckets. The exhausted dye can be discarded.

But if students need the vats on the final day, or I am travelling home the day I finish teaching, I don’t have the option of using Yuli’s felt and the leftover dyes.

The Art and Science of Natural Dyes: by Catharine Ellis and Joy Boutrop

A newly-published book by Catharine Ellis and Joy Boutrop has encouraged me to experiment with making lake pigments from the leftover dyes at West Dean. Their suggested process greatly reduces the volume to be transported and involves binding the leftover dye to the alum mordant, thus turning it into a concentrated lake pigment. The pigment is precipitated using alum and soda ash and sinks to the bottom of the vessel, leaving the water on the surface, which can be poured off.

Madderlake2

Making a madder lake. You can see the dye beginning to precipitate and separate from the water

The resulting substance is strained through cloth and when this process is complete, a gooey, paste-y mixture like thick custard remains.

filtering

Straining the madder pigment through a cloth

By reversing the chemical process at home, again using the instructions in the book,  I can dye pieces of wetted-out felted wool – which do not require a mordant.

It is typical of this book, which in its entirety covers a very wide range of natural dye processes, that methods are well-explained, options or alternatives outlined, and reasons given for certain instructions. Recipes are clear and easy to follow and I would have greatly valued the book in my library when I started natural dyeing because of its comprehensive treatment of the subject and a thoroughly researched, straightforward approach. I will write more in future posts because I am still learning so much from the work of these two authors.

Since my West Dean course last month I have made pigments from madder and weld lakes, and tried mixing them with indigo and earth pigments.

pigments

Madder and weld pigments (pink and yellow) and overpaints of earth pigments sienna and ochre (rusts and red-brown) from Roussillon in France. Painted on soya-sized cotton

Links

The Art and Science of Natural Dyes: Principles, Experiments and Results

At time of writing, this book isn’t readily available in the UK. Check this link on the Blackwell’s site to see if it is in stock.

Bellacouche

Yuli Sømme’s company in Moretonhampstead, Devon

West Dean College Short Courses

My next natural dye course at West Dean is March 27 – 29th 2020.


4 Comments

Testing Times 1 & 2

Testing One

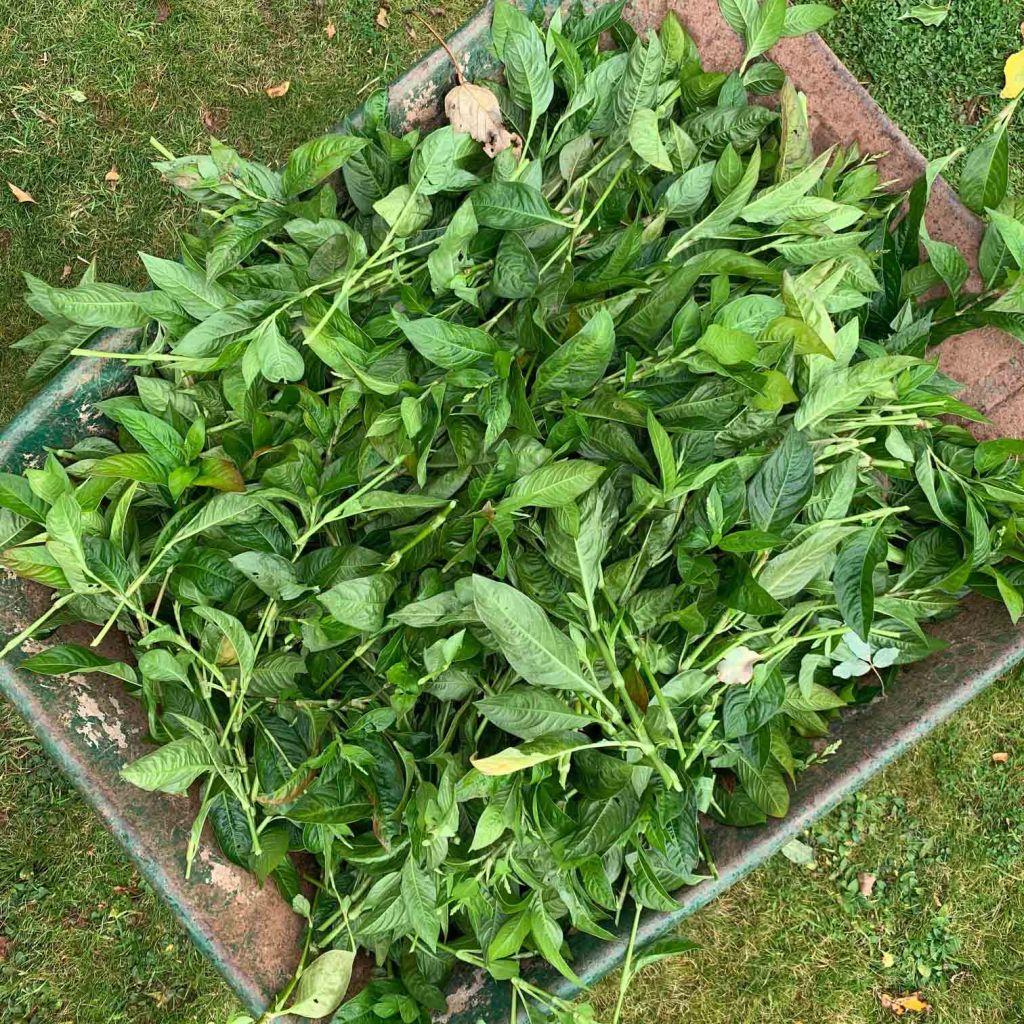
I have many friends who take an interest in my pots of goo and occasionally they send me things. One such friend returning from Essaouira sent me pigment she had been sold as ‘shellfish purple’. Historically, the Moroccan coast was an area much involved in the making of this fabled dye (also known as Imperial Purple and Tyrian Purple) but I expressed doubt that what she had sent was ‘the real thing’ because it is fabulously expensive to produce even a small quantity. Just 5 grams costs around £450.00. But I thought it would be fun to try dyeing with it.

grains

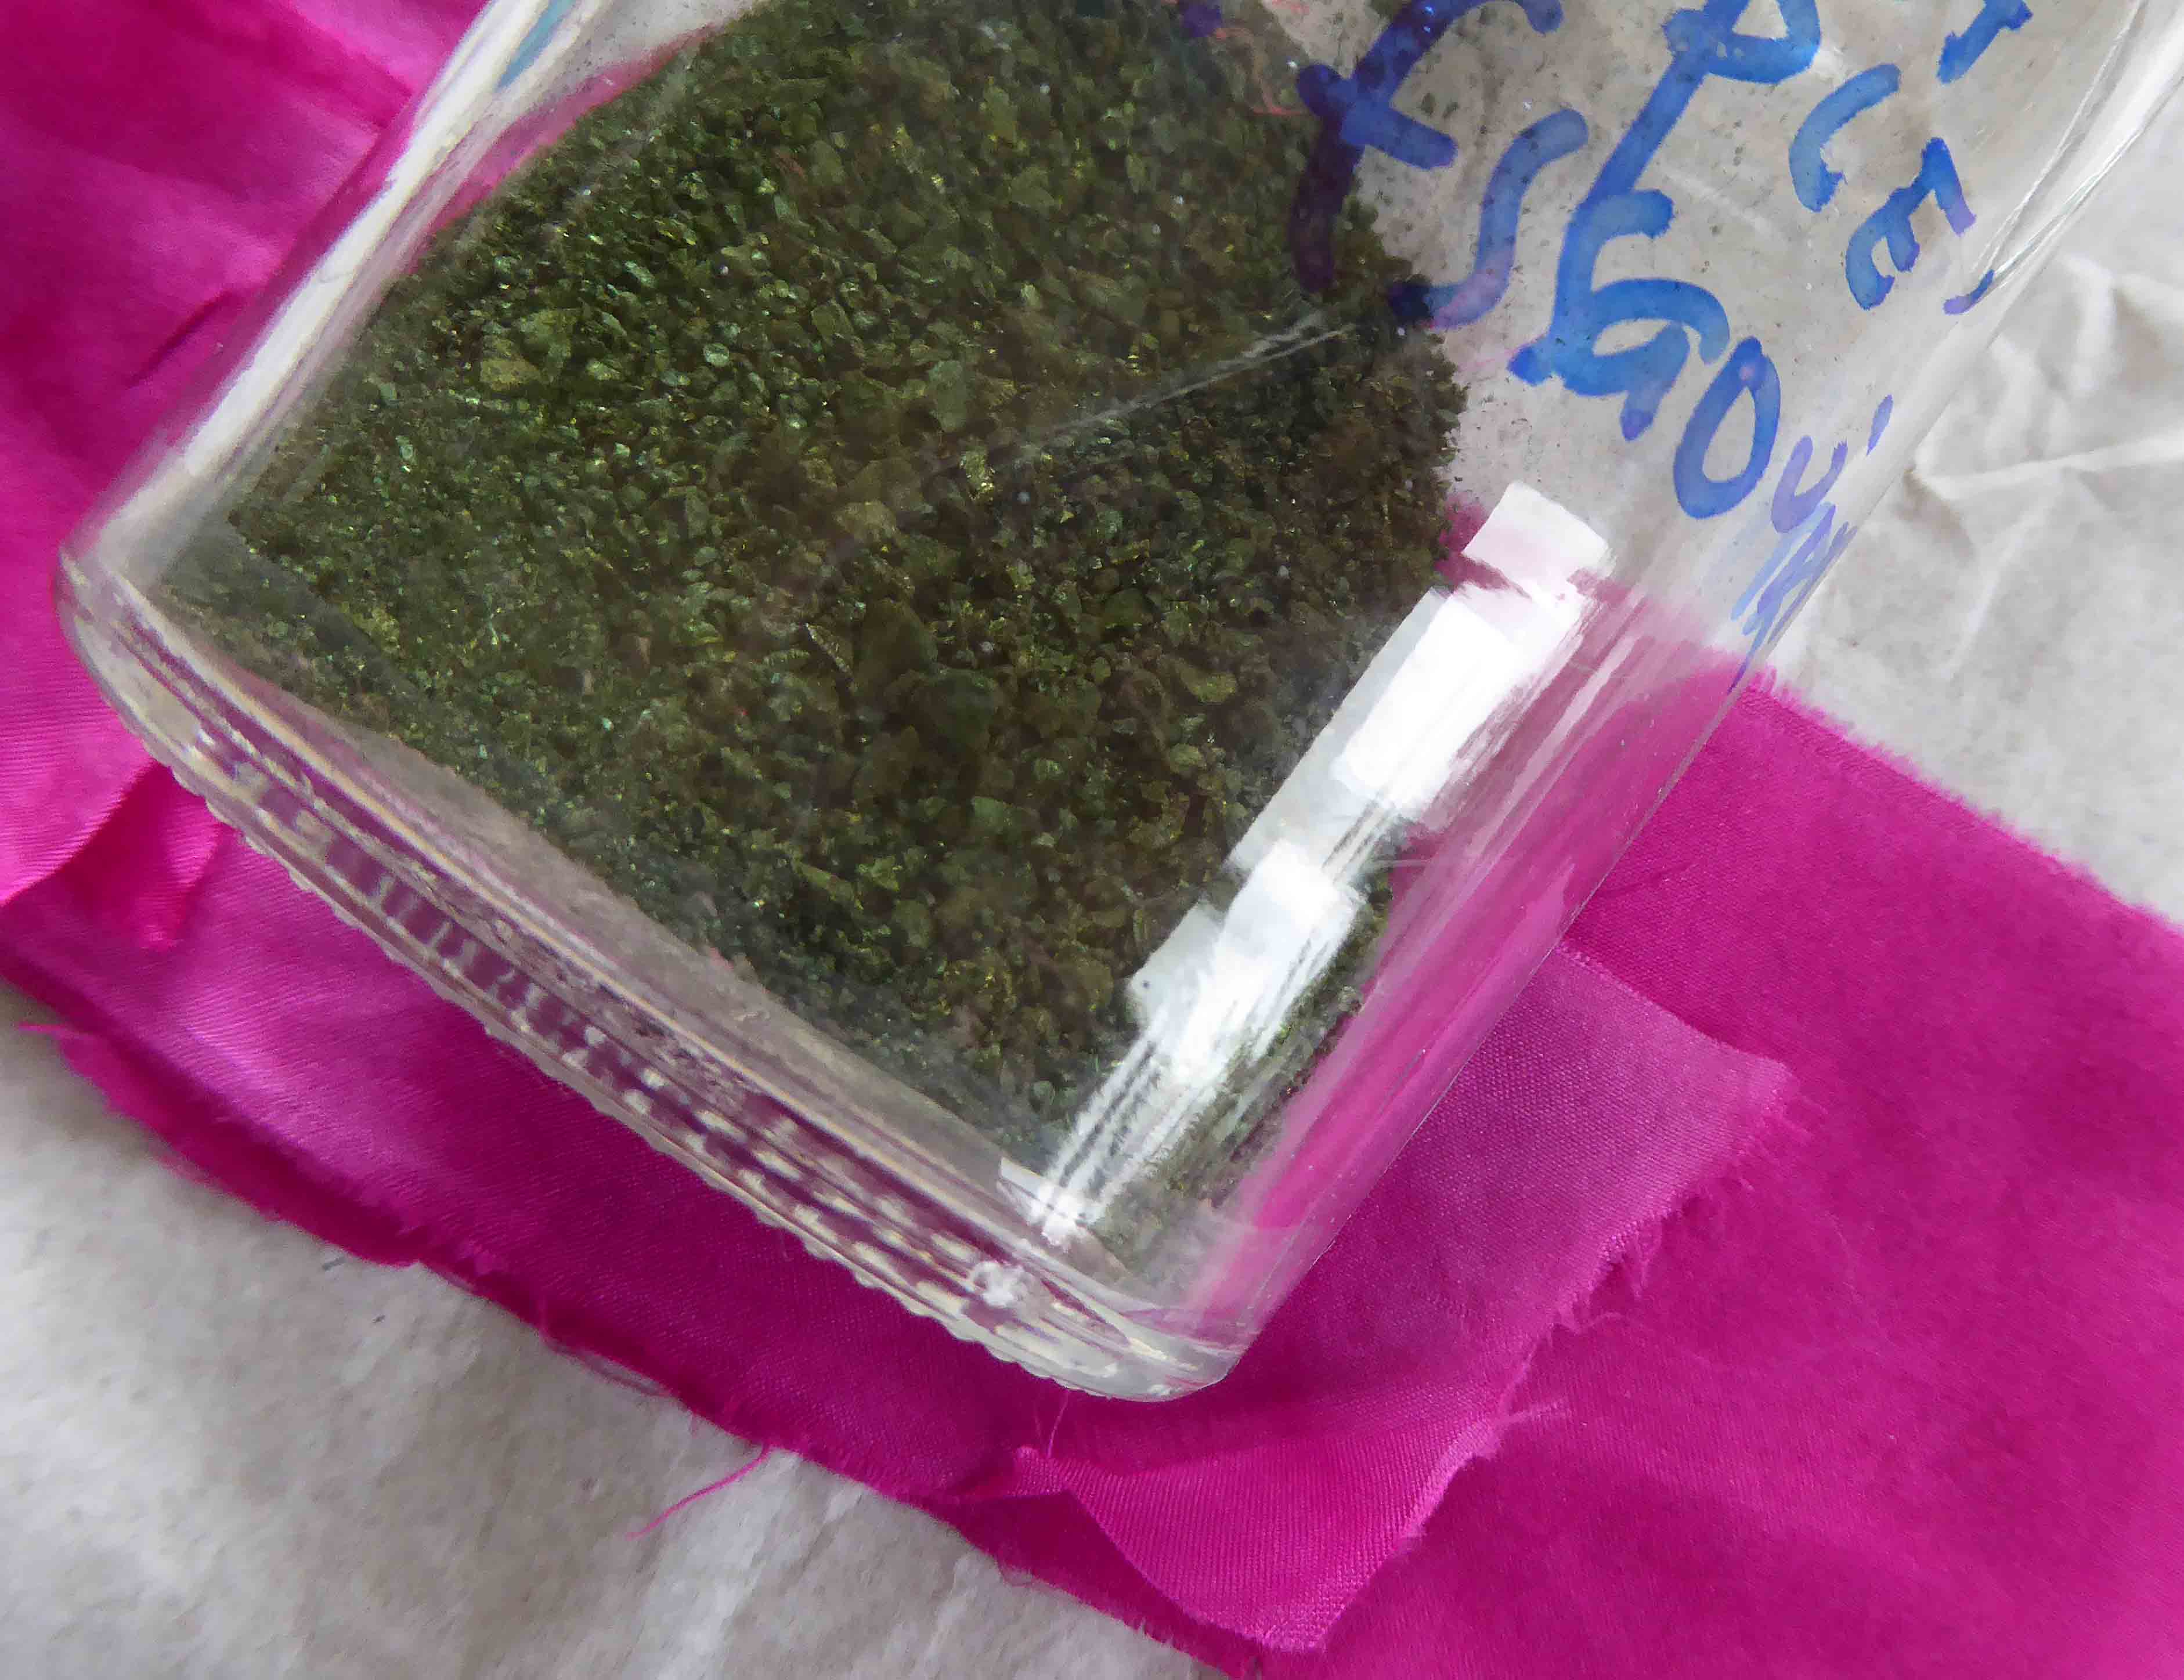
Green grains and finished colour on silk

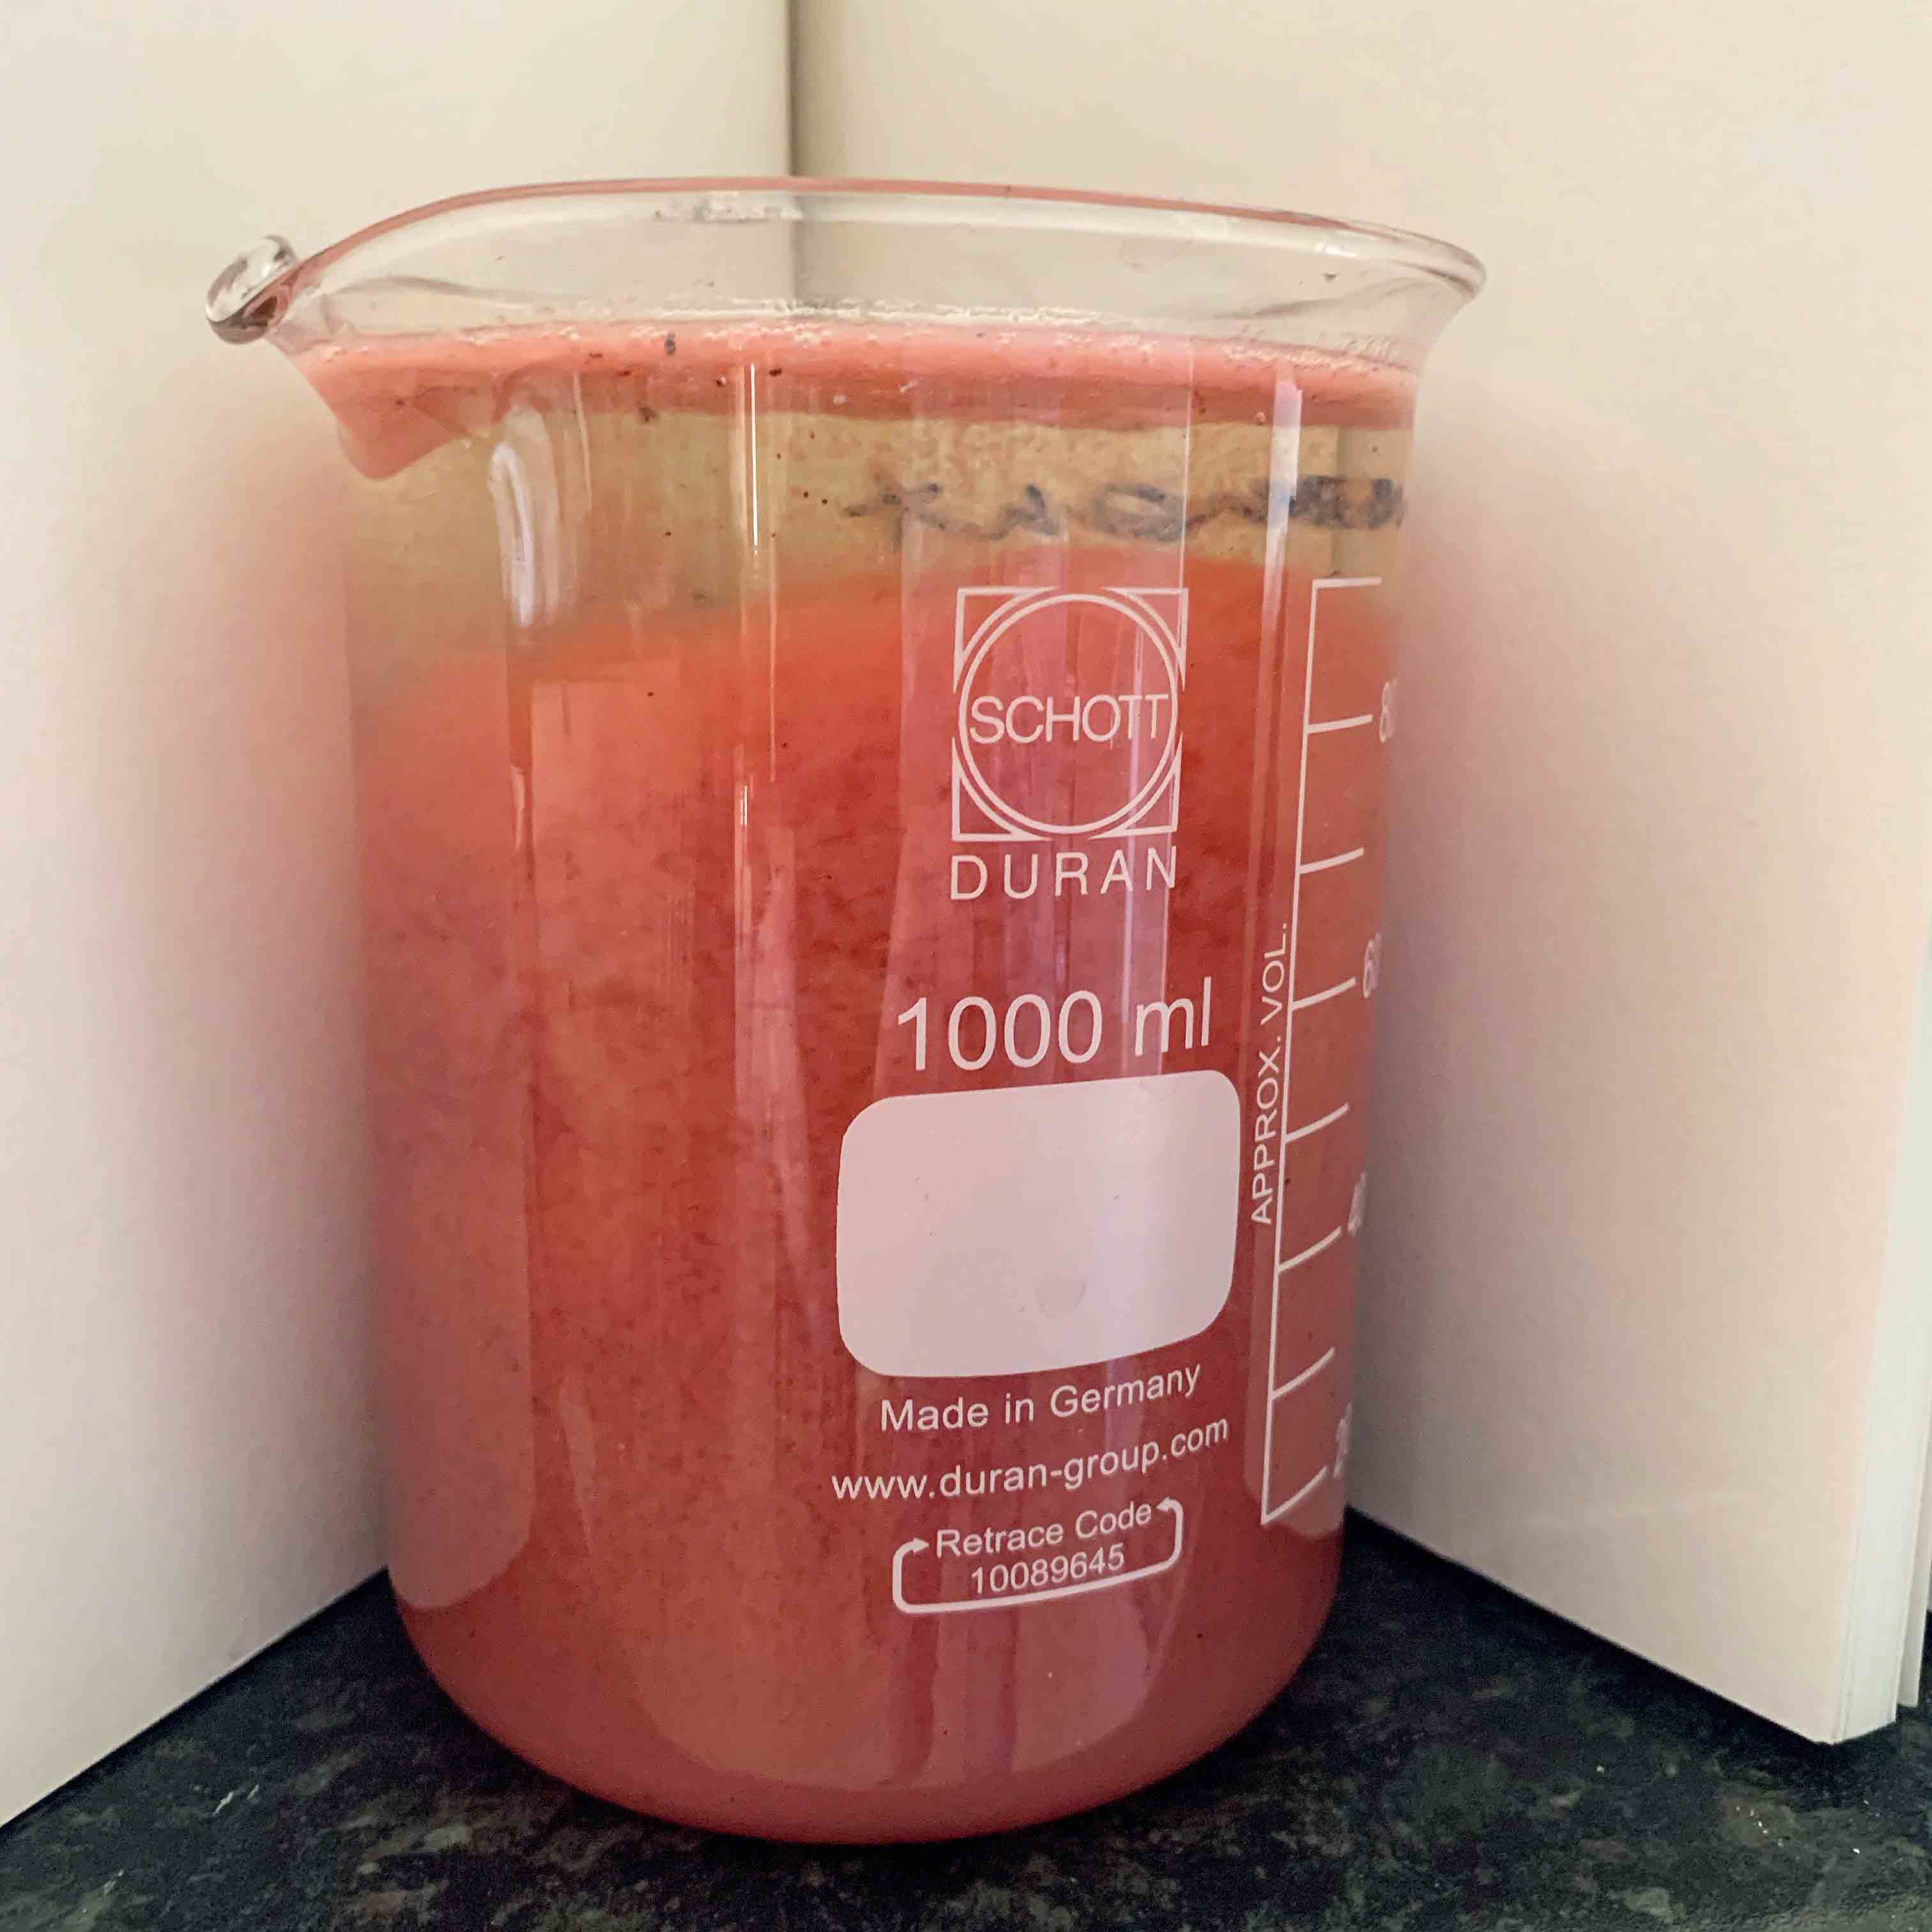
I took advice from a specialist colleague, Professor Zvi Koren of the Edelstein Center for the Analysis of Ancient Artefacts (link below). He advised that shellfish pigment is not water-soluble, so that by adding just water I would not get a true solution: I’d get a reddish coloured mixture with the pigments dispersed but not dissolved. I added water and the grains went bright pink. Very bright indeed, as you can see below.

pH

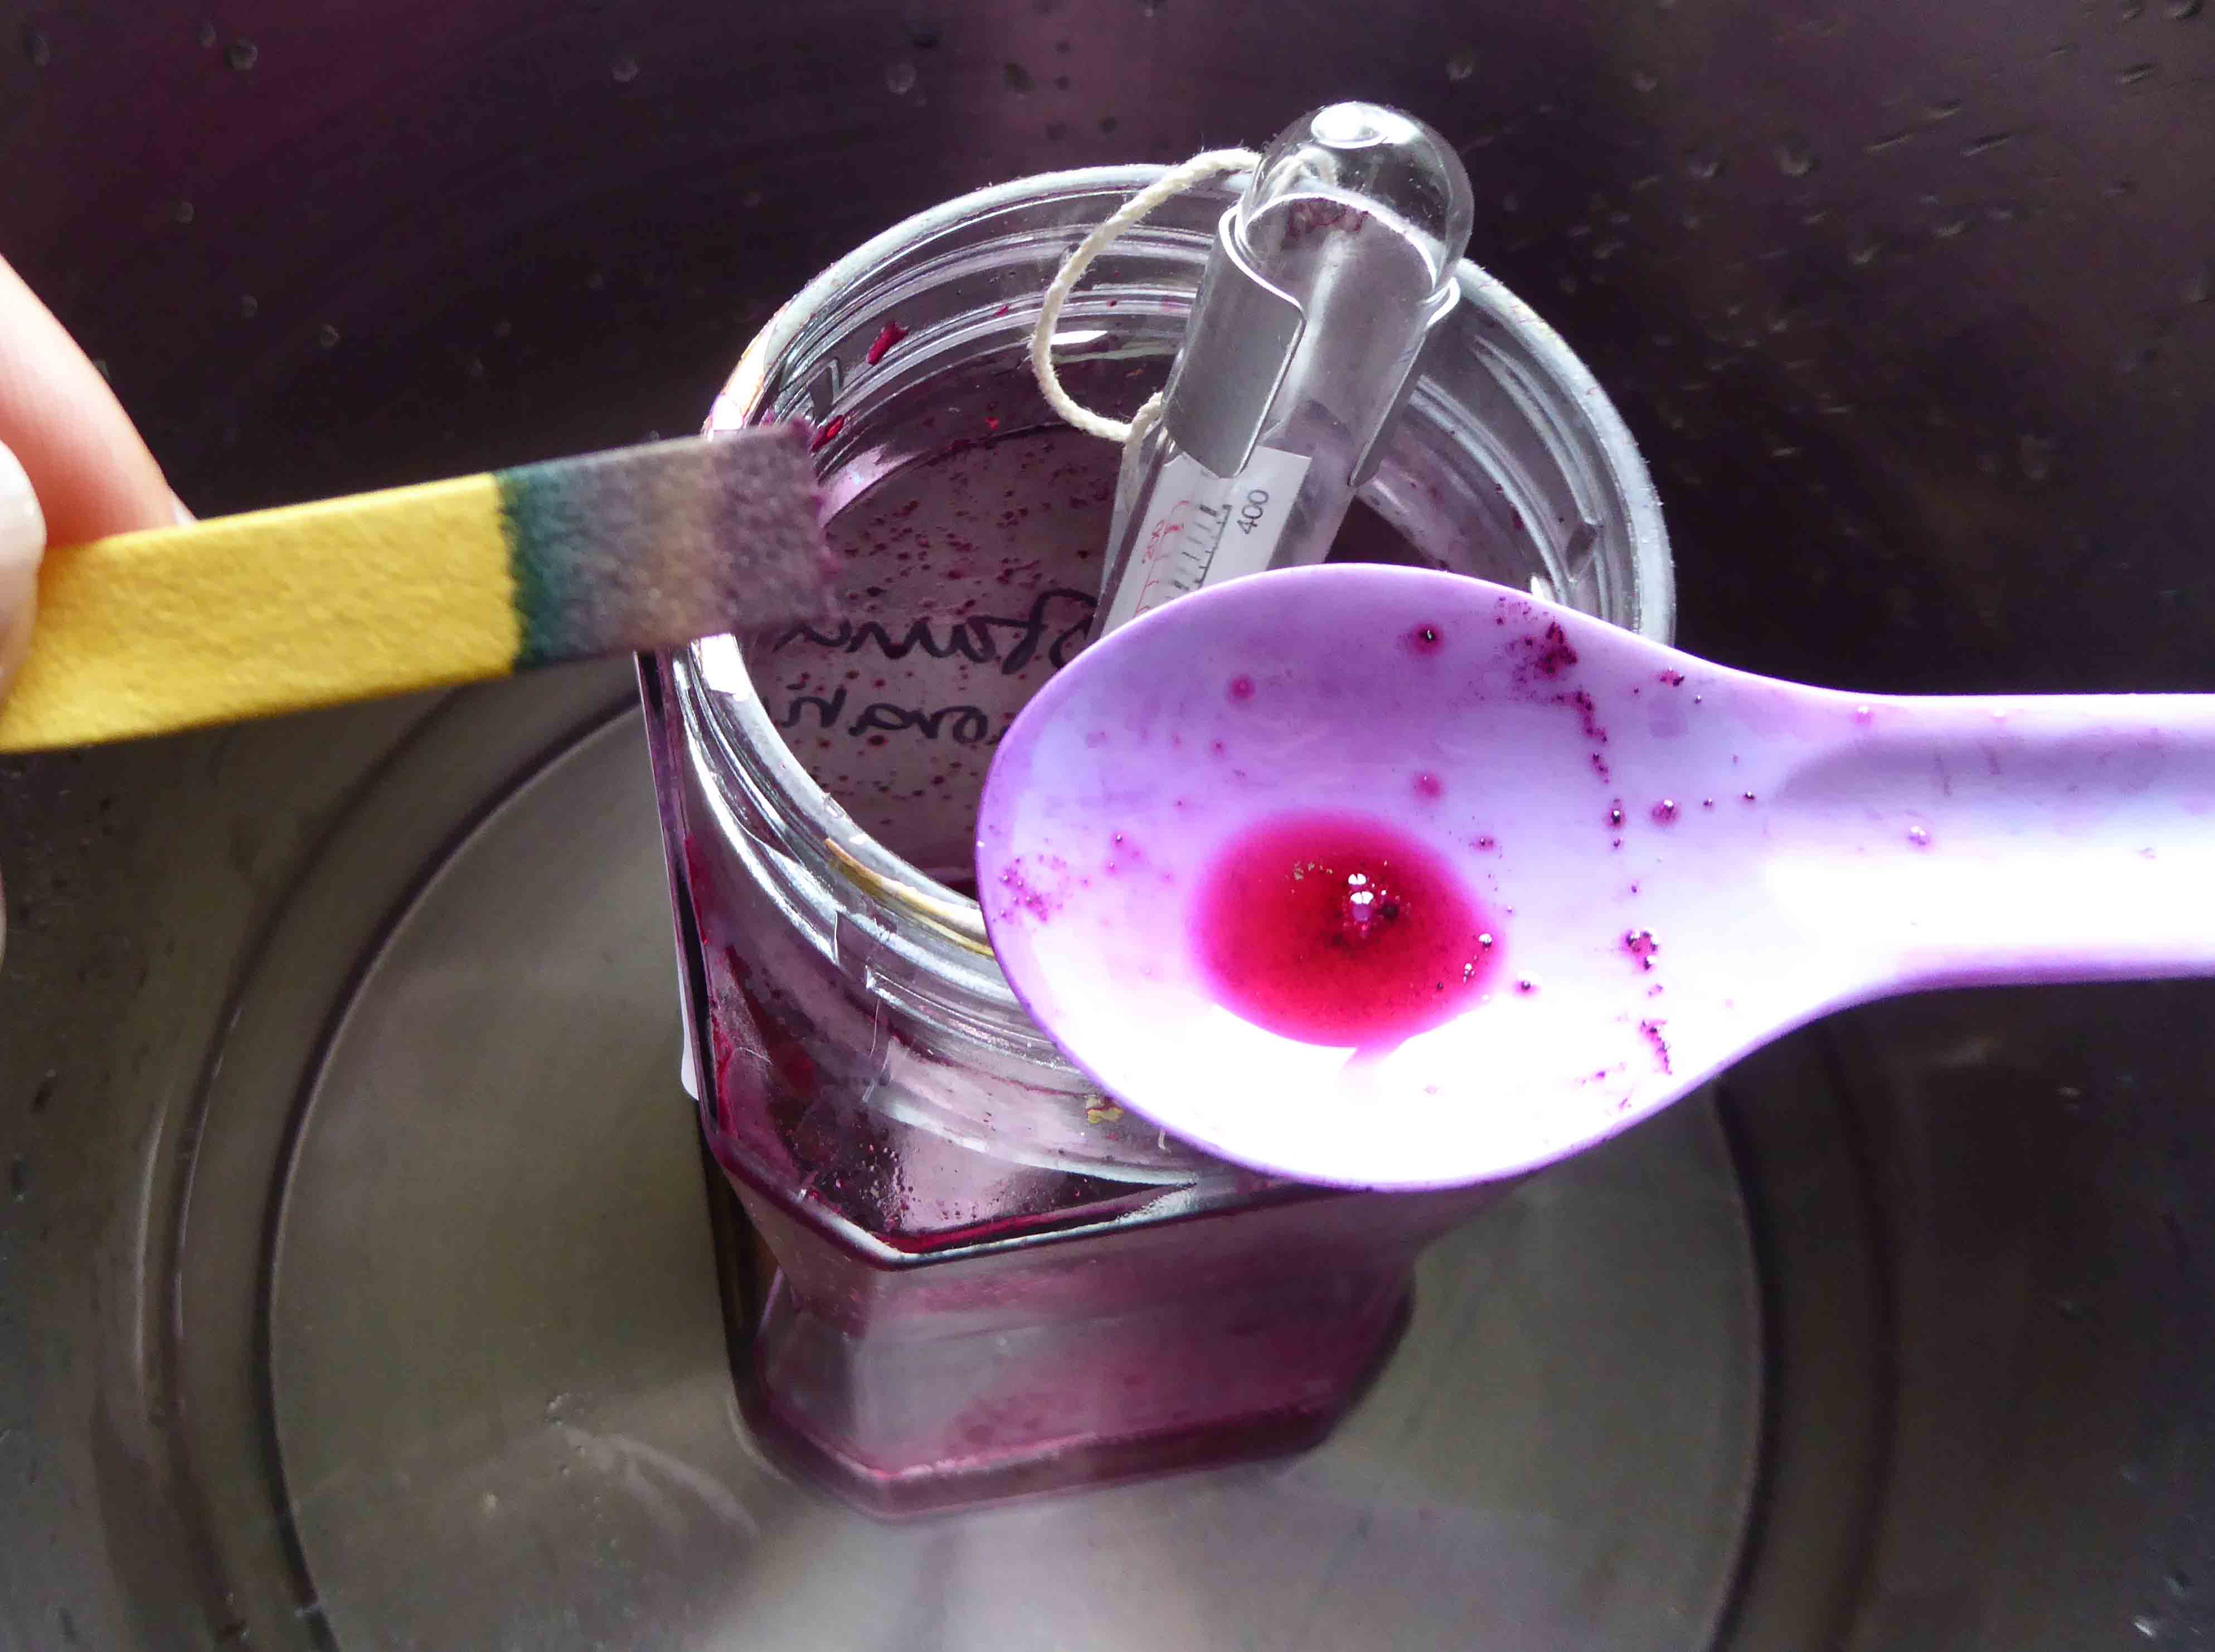
The colour of the grains in solution: testing pH

reduced

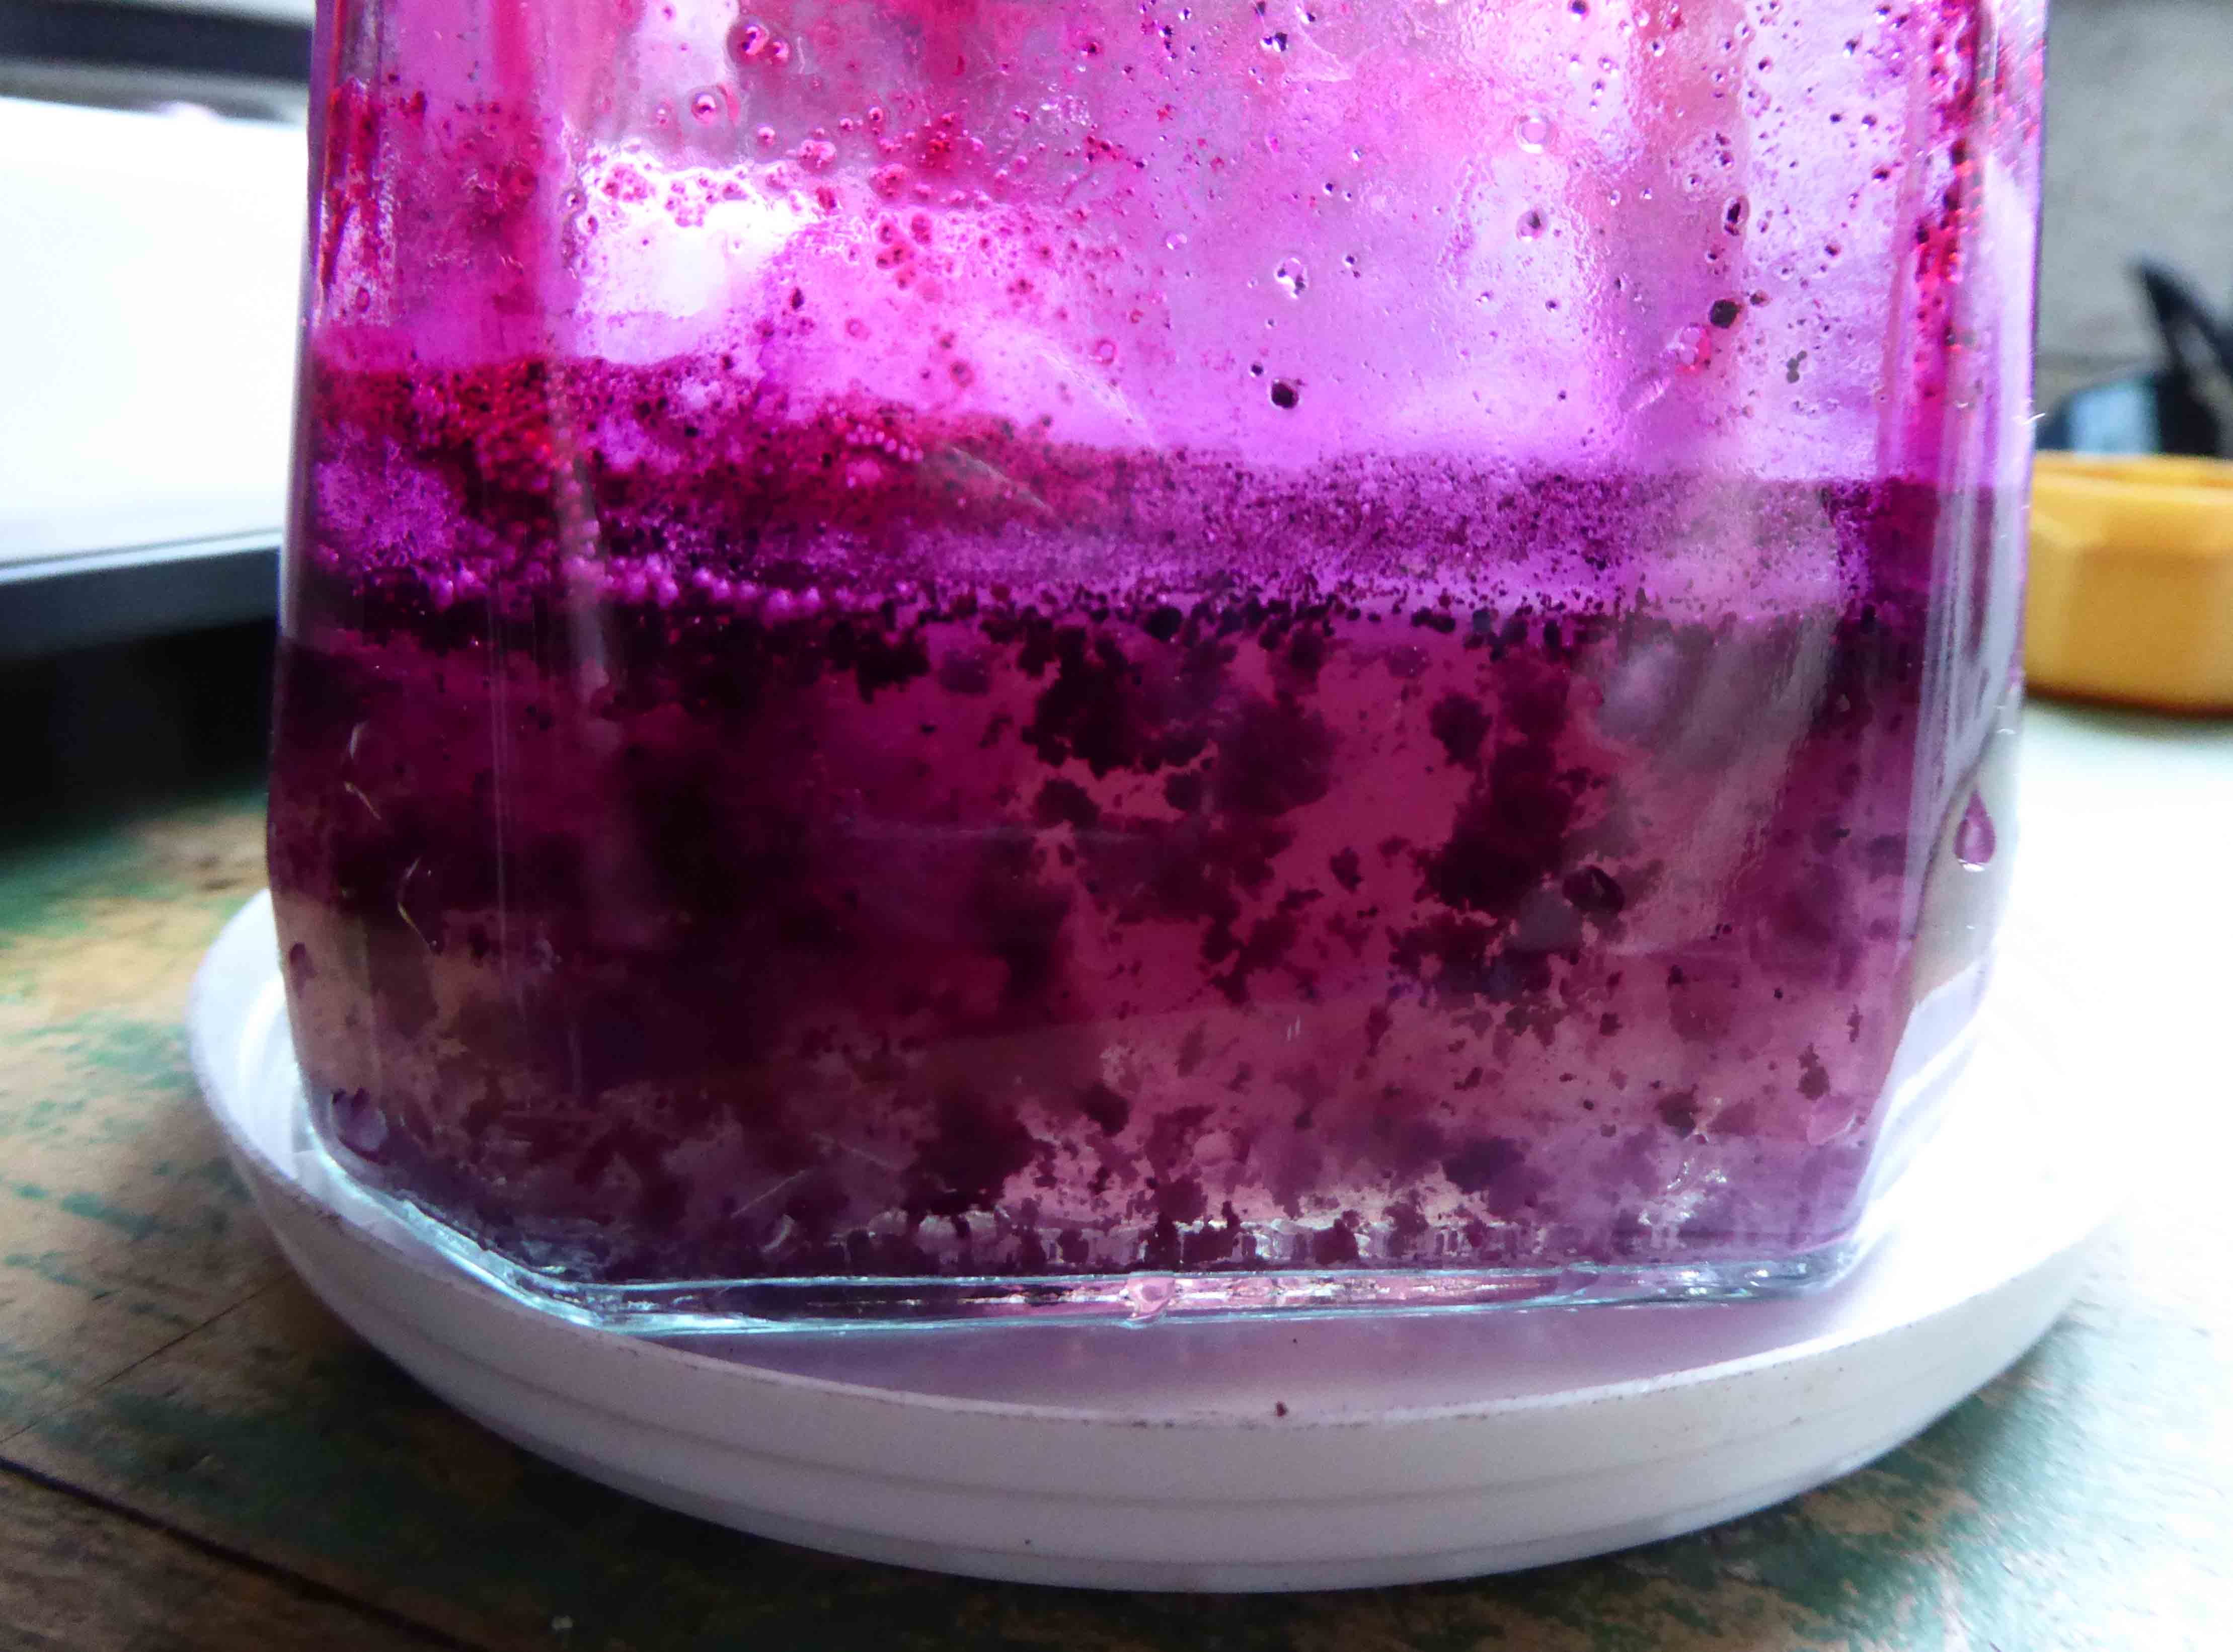
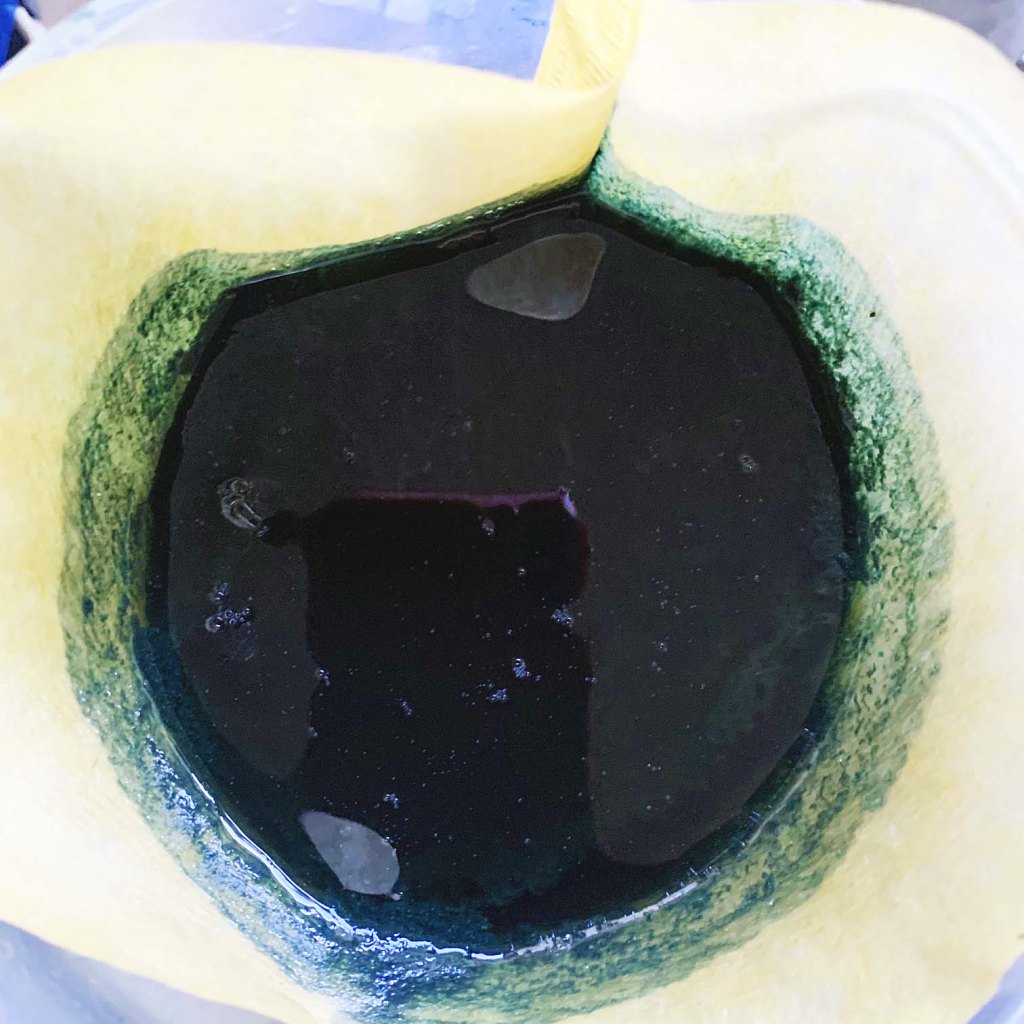
Reduced liquid with lumps of dye matter

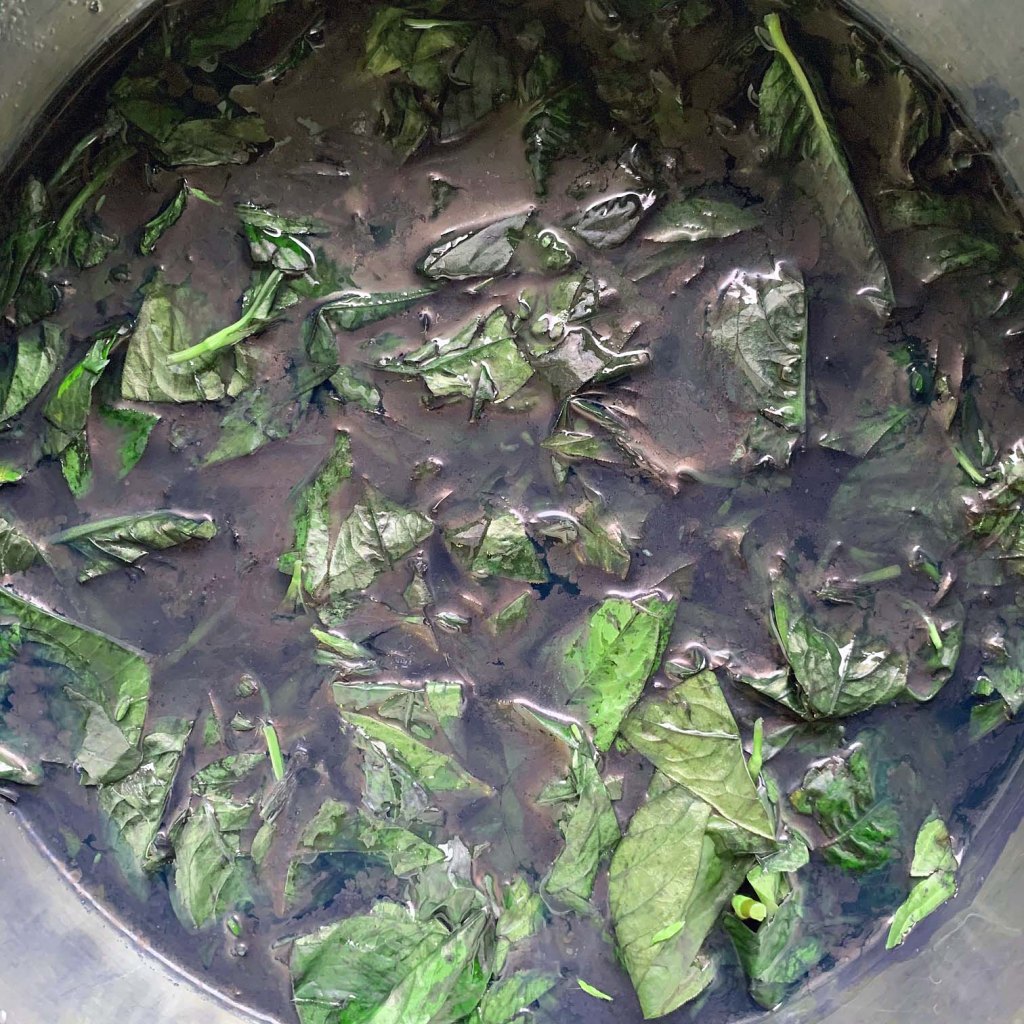
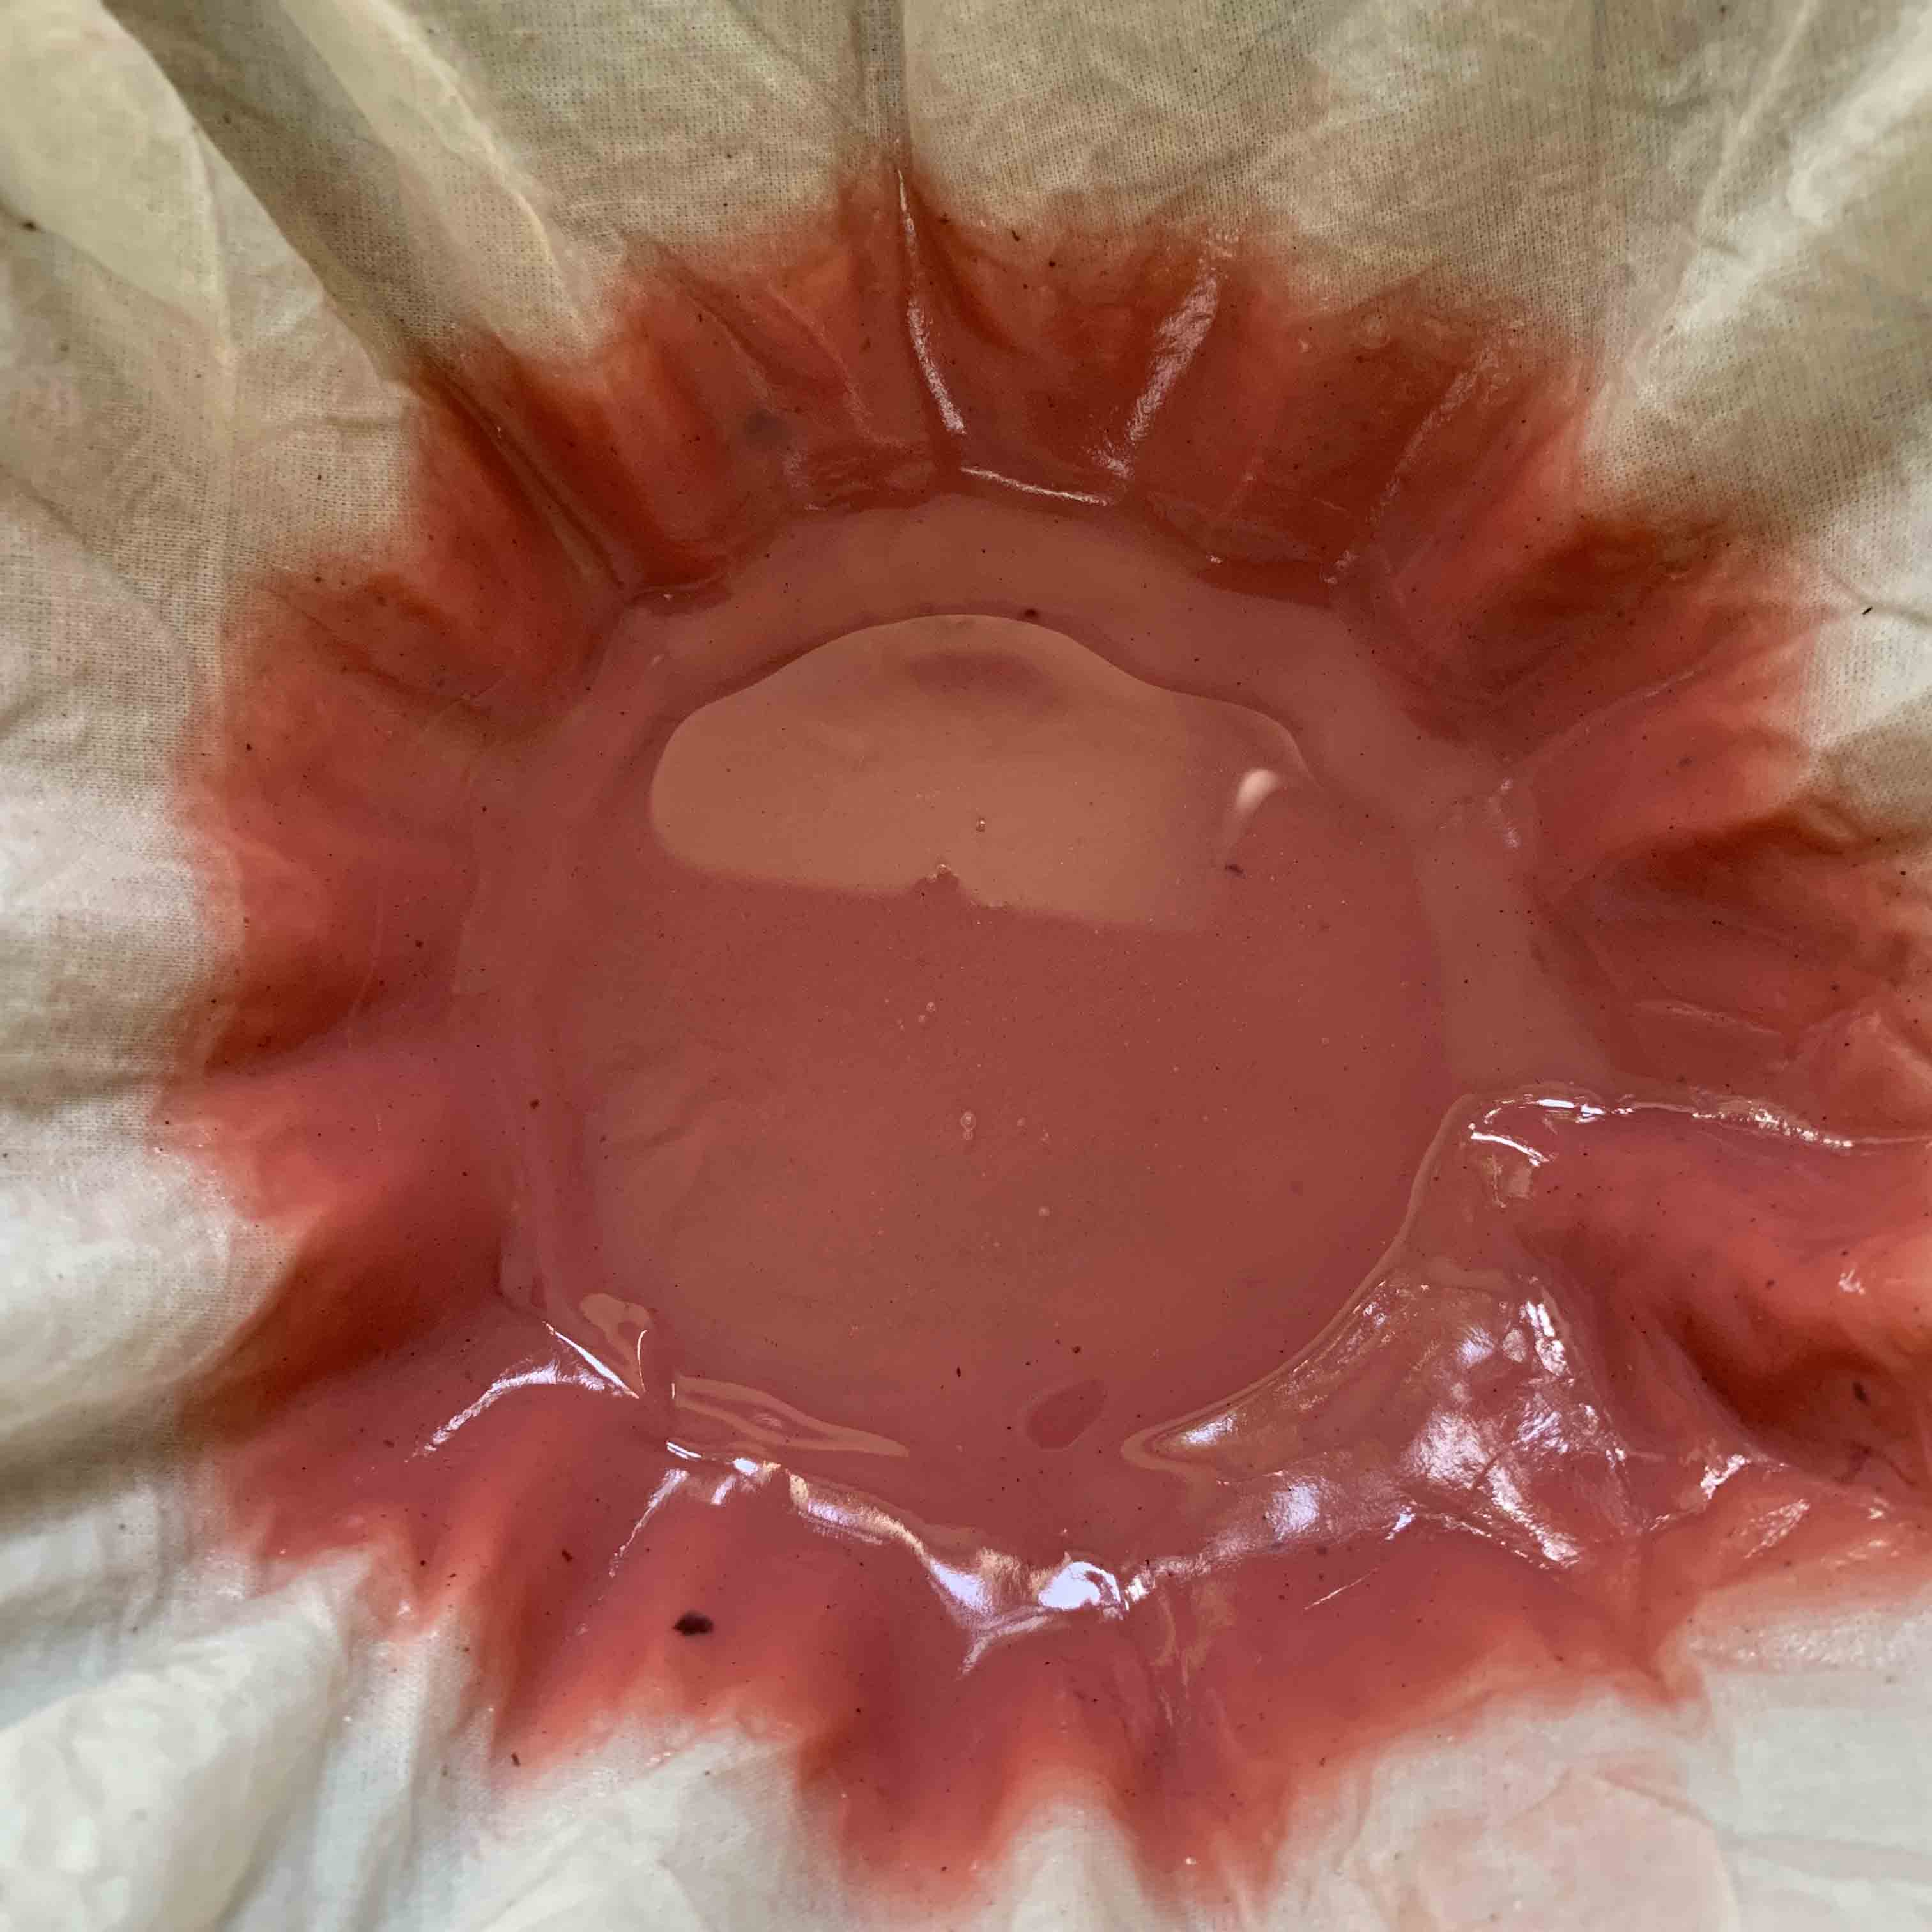
Following my colleague’s advice, I reduced grains in a hydrosulfite / dithionite bath in an alkaline solution, at about 60 C. The liquid went completely clear, with the dye matter gathered in lumps. This didn’t look right at all for shellfish purple, which should change to a greenish colour (as with indigo).  Nevertheless, I dipped silk into the clear mixture and it came out a bright pink – which does not wash out. So it’s certainly a dye, but certainly not shellfish purple.

Two other pointers to its not being shellfish purple: the Essaouira grains are green, and they shouldn’t be. There’s no snail pigment that colour, according to my colleague. It’s usually dark, blackish, brownish, purplish or violetish, but never green. And on top of that, the grains should have a yukky fishy smell. The Essaouira grains smelled vaguely of incense.

So this was a fascinating experiment, a story echoing many historical tales of dyes that were not as they claimed.

My thanks to Professor Zvi Koren of the Edelstein Center for the Analysis of Ancient Artifacts for his input and advice on testing the Essaouira grains.

Friends: please don’t stop sending me interesting things. But as an H&S caveat, pigments and grains bought in faraway places may be toxic or otherwise harmful so you need to be aware of handling and storing them. They are not necessarily what they say on the tin.

Testing the Other

At a recent course at West Dean my Old Geyser of a fabric steamer developed a problem. The thirty-year old steamer assembly consists of a standard water boiler (the sort to be found in every village hall), a custom-made stainless steel chamber, lid, and perforated base plate. Silks are rolled in paper and stacked upright inside the steel chamber. Water is heated in the boiler, the steam circulates and the combination of heat and damp sets the dyes. The water isn’t held at a constant boil but needs to come up to the boil – and hold it – every two or three minutes, for around two-and-a-half hours.

Only, at West Dean, it didn’t. The boil was less frequent than usual, and was held for shorter periods. I was concerned that dyes were insufficiently fixed and suspected a problem with the thermostat. (I should add that West Dean supply a professional Uhlig steamer, but I have always used mine, which holds more silk).

Back home, phone calls revealed that a new ‘simmerstat’ is what I required. But during the time since I bought the boiler, Brussels has dictated that EU citizens are insufficiently responsible to handle dangerous pieces of equipment that boil water. (Those in favour of Brexit might enjoy the link at the bottom of the page). A catering boiler will no longer come to a full, constant boil. My new simmerstat was fitted by the technical department, but the gaps between boils seemed longer than I remembered…. or was I just being twitchy?

I then discovered that a secondhand Uhlig steamer was on sale, owned by an ex-student. I couldn’t believe this piece of luck – and bought it. It is a solid, stable and well designed piece of equipment, although as with the West Dean one, it does not hold as much yardage as Old Geyser. In the Uhlig I tested several pieces of silk, including three blues which have a tendency to run if steamed sufficiently. No run-off.

runoff

Some runoff may be expected in initial rinses after steaming if heavily concentrated dye is used. Thereafter the water should run clear

samplessteam

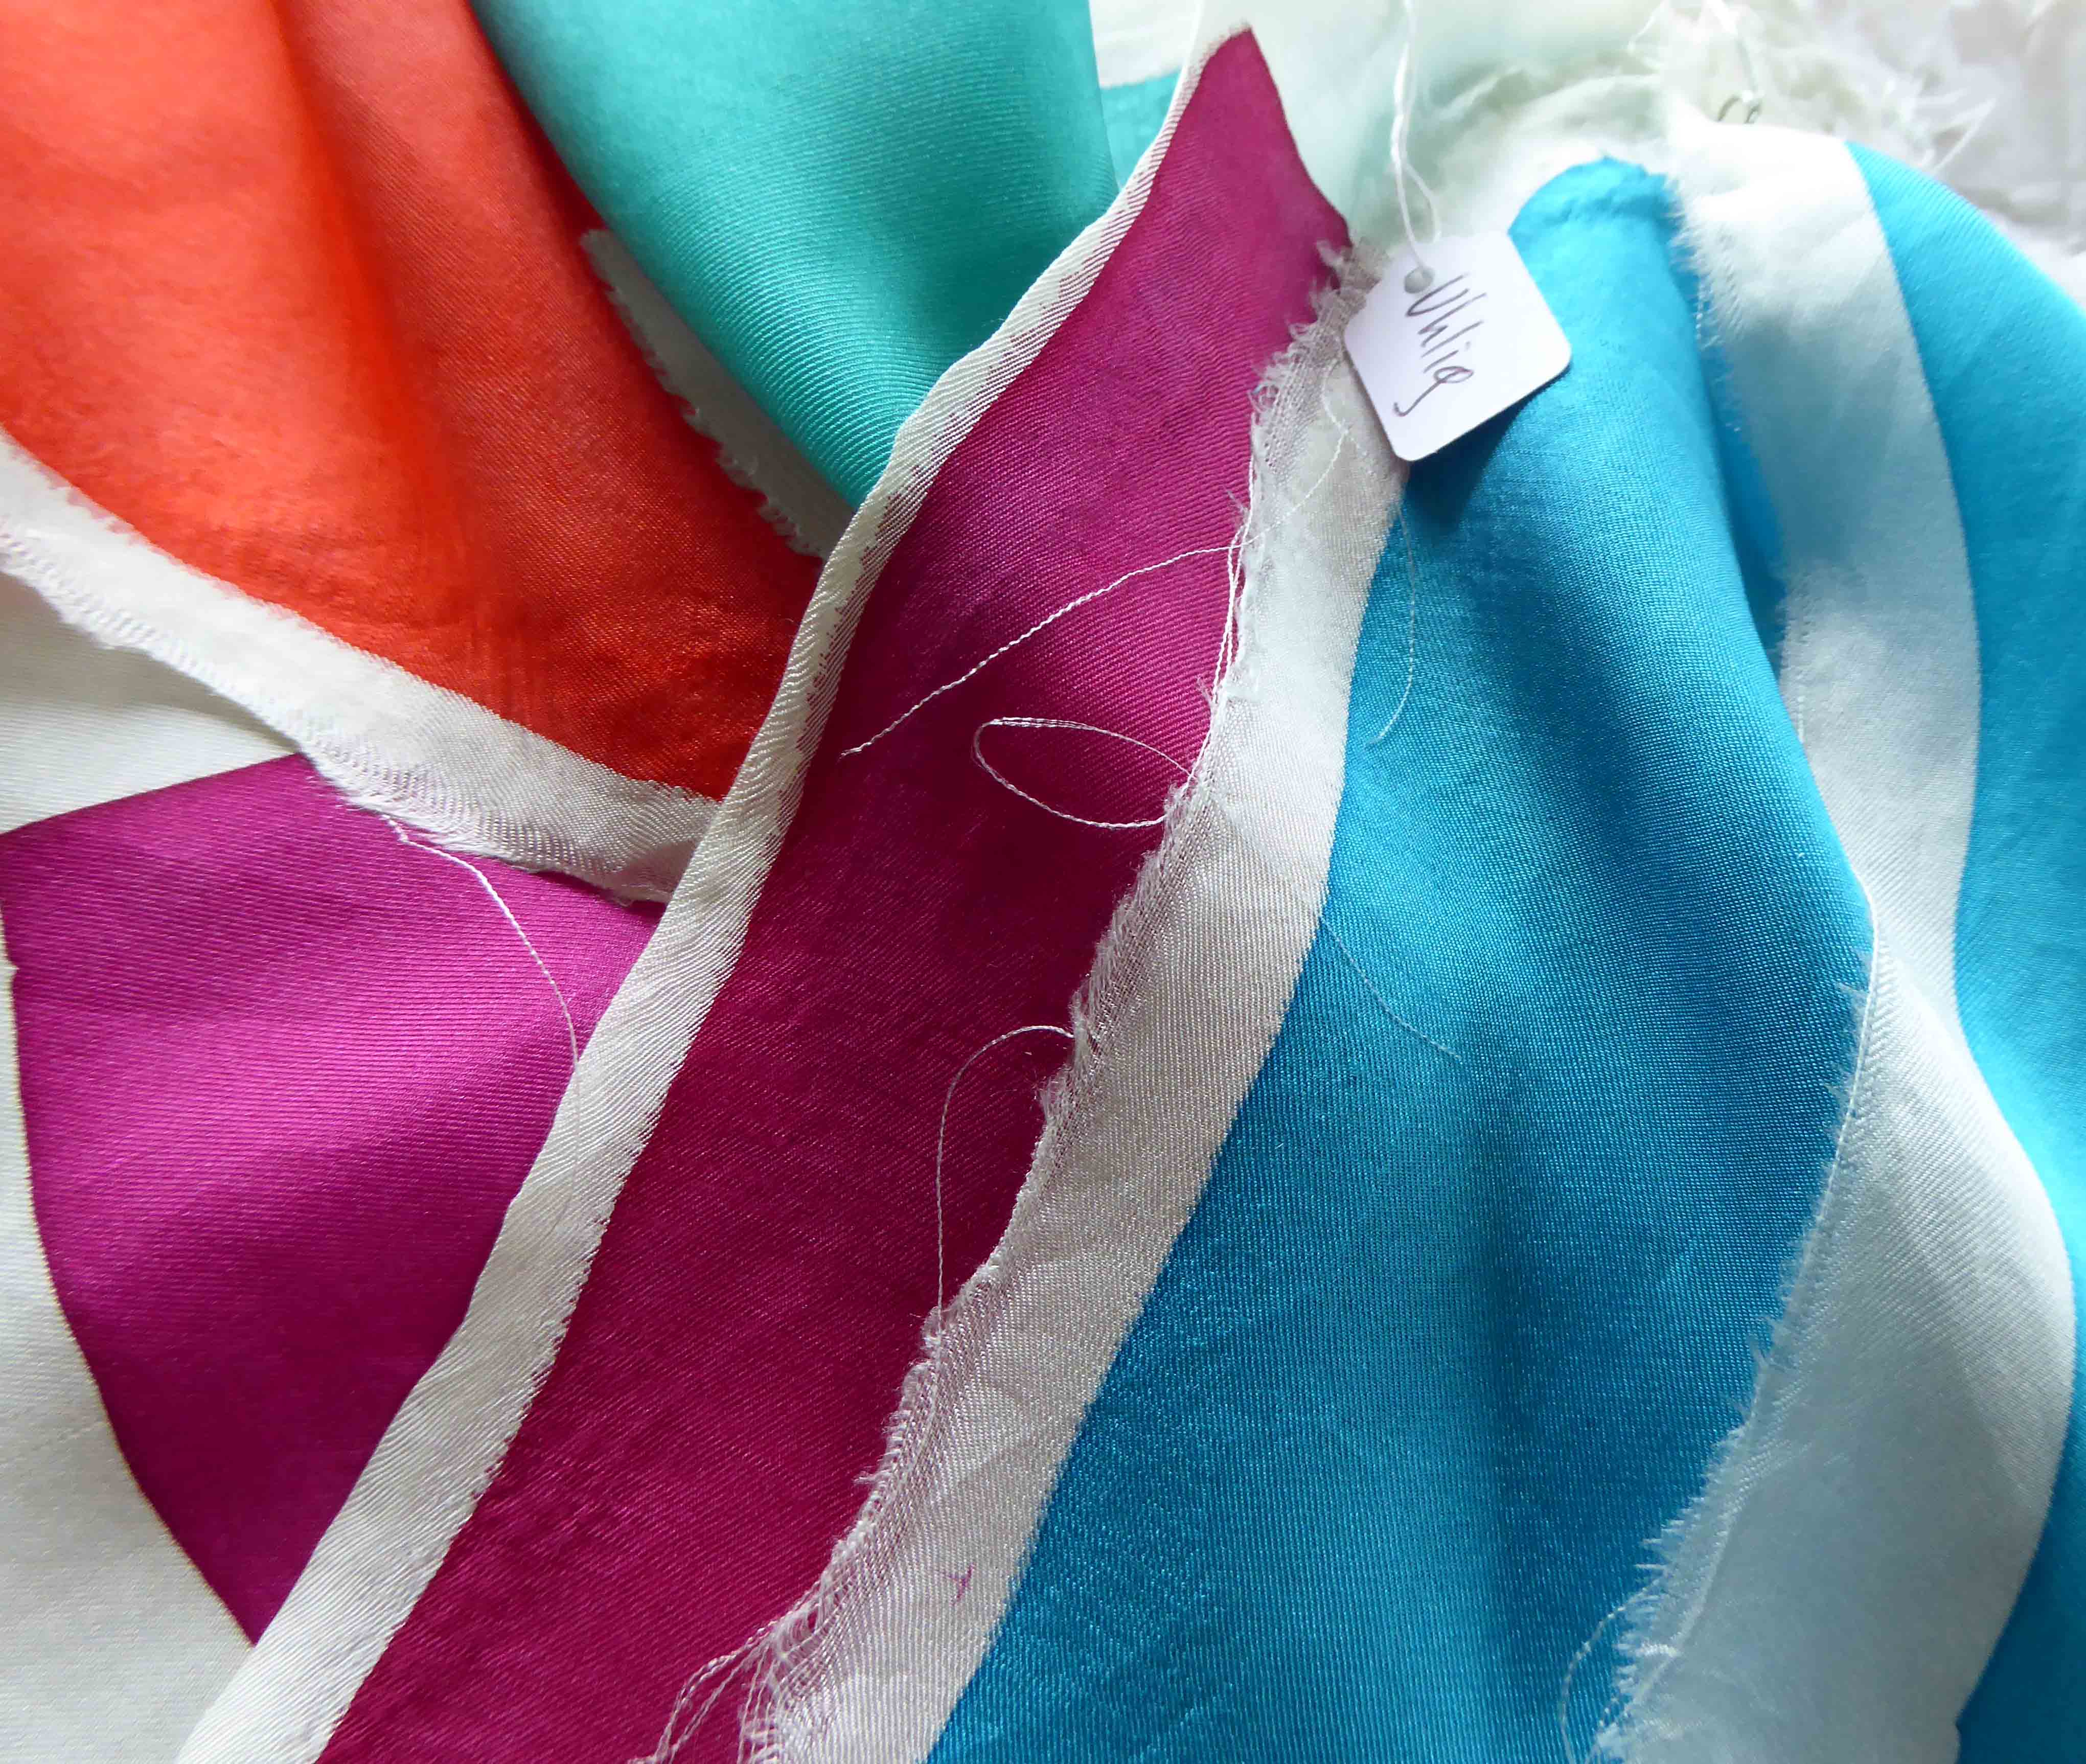
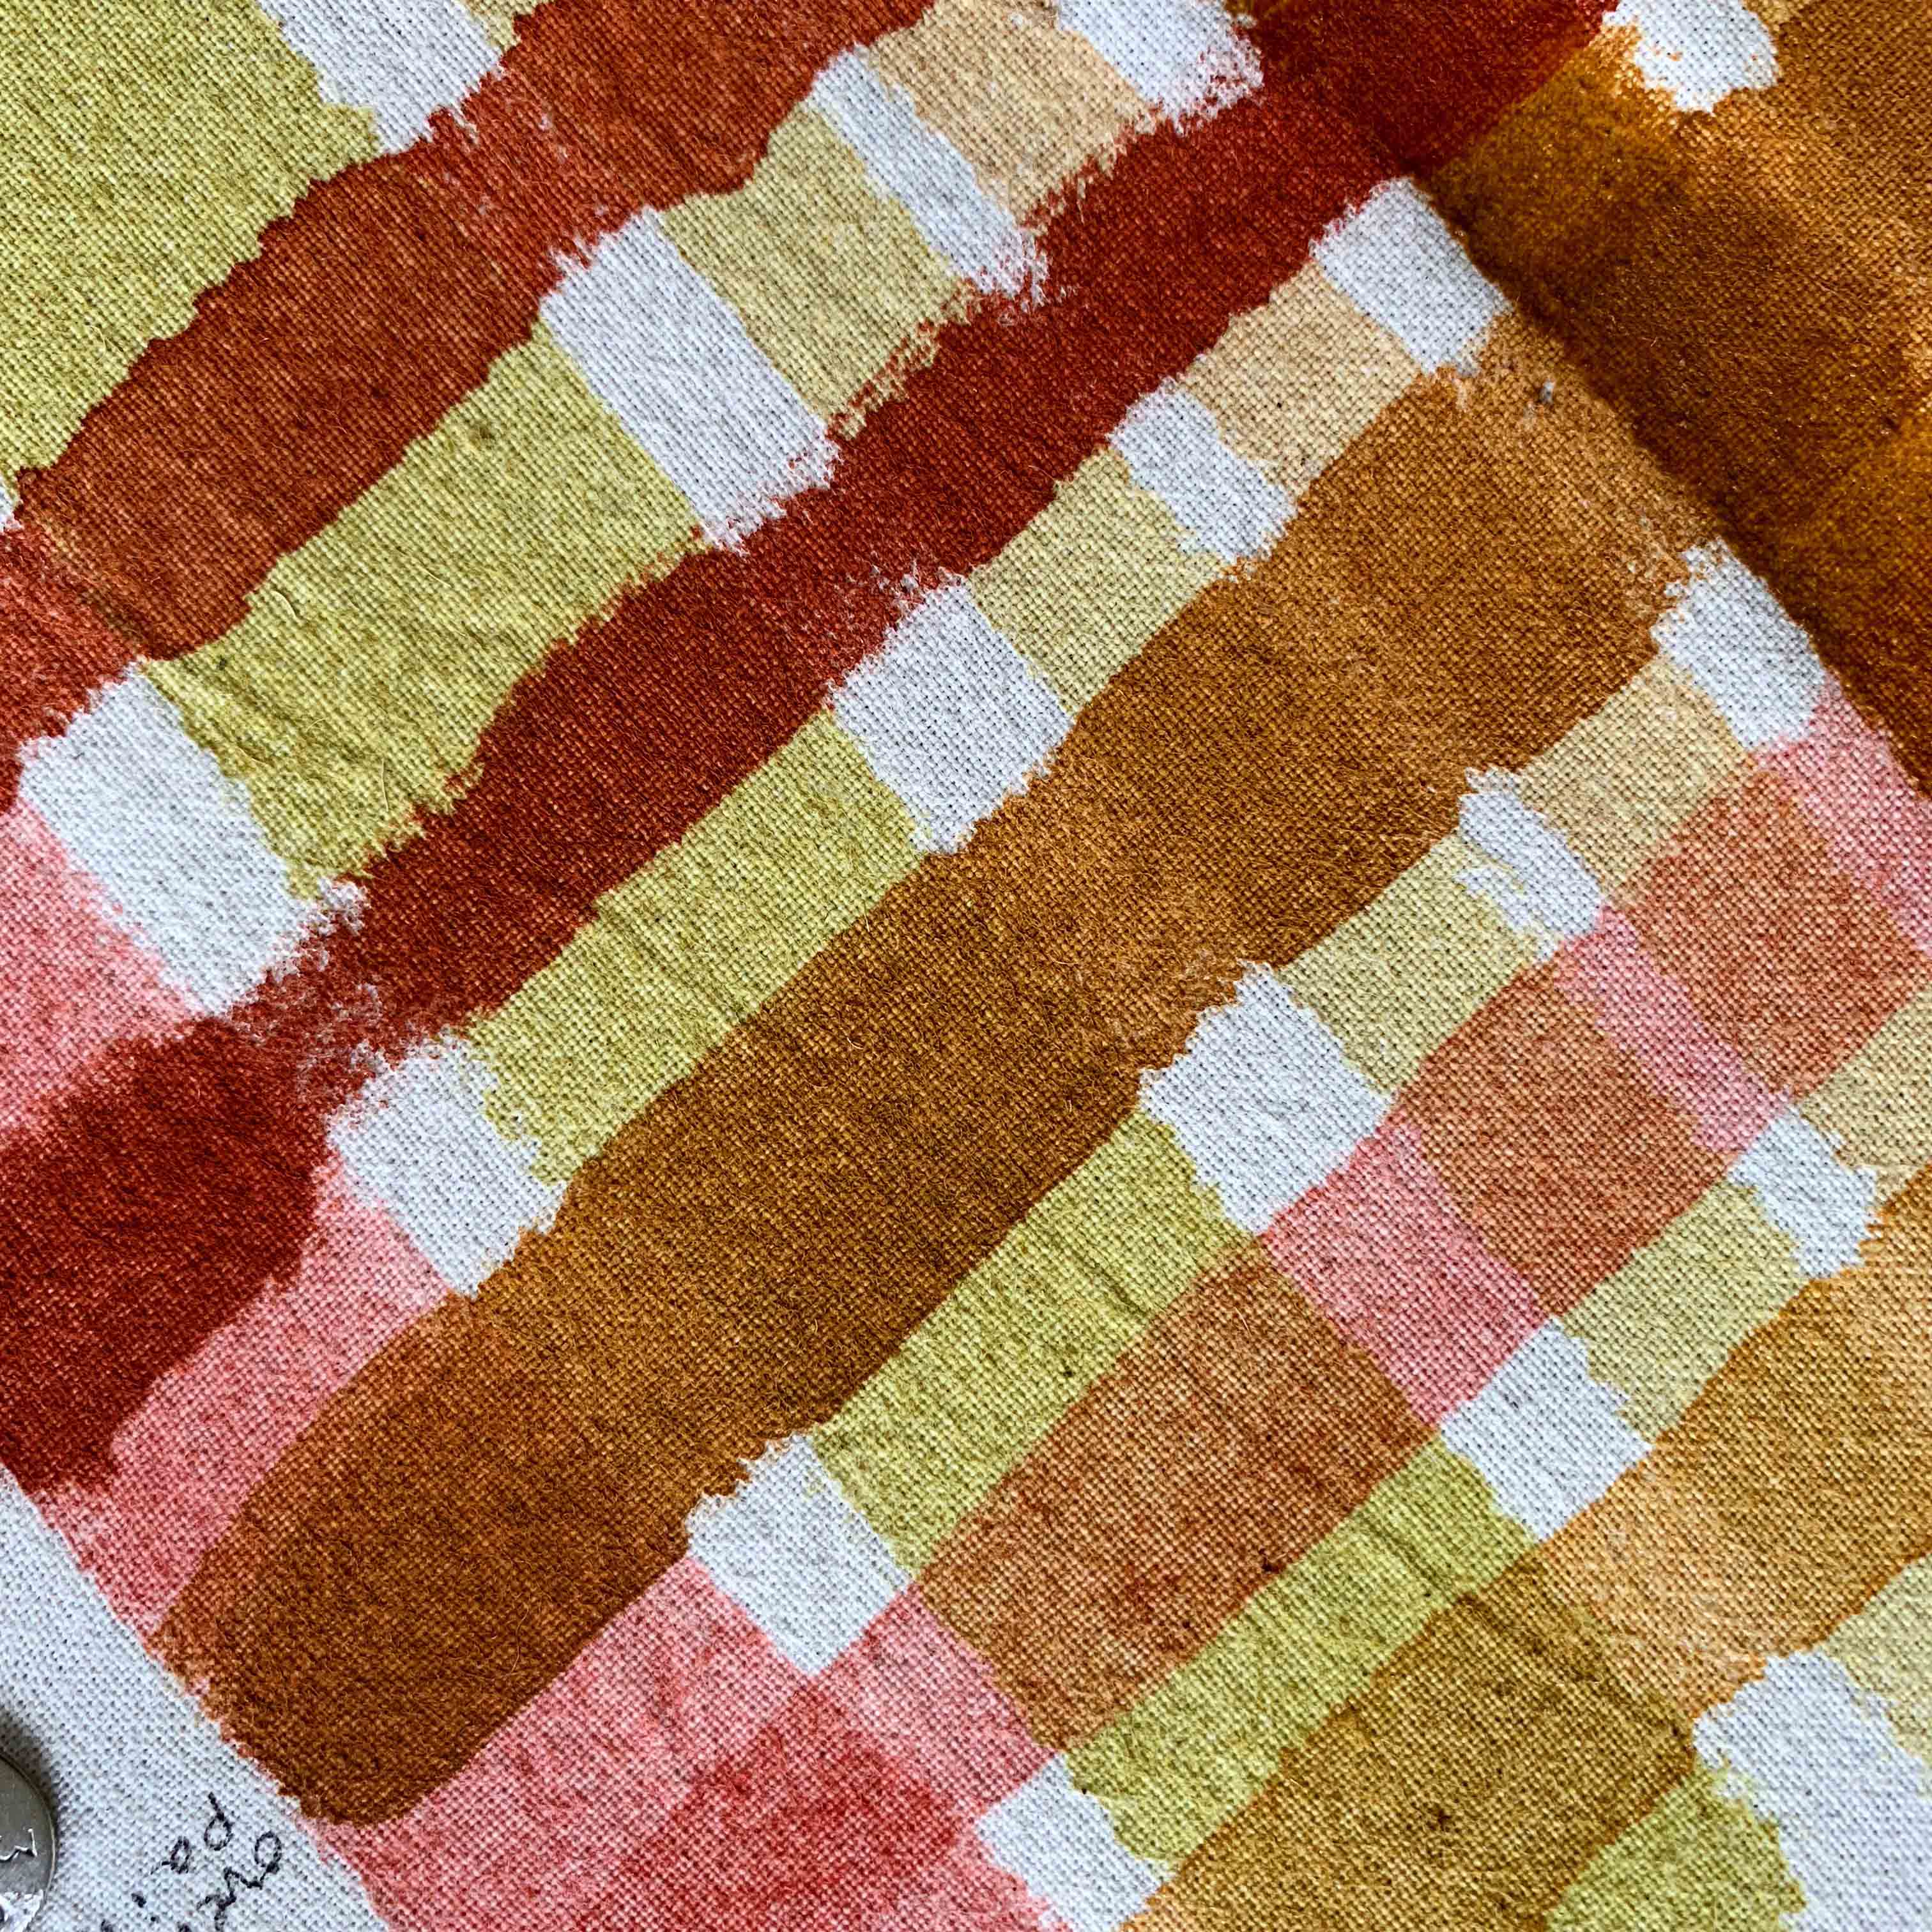
Samples of identically dyed silks steamed in two steamers to compare colour and runoff

I tested identical blues in the mended Old Geyser. It now appears to be working well too – so I now have two working steamers. No recycling tip for Old Geyser: he threw a steamy party.

LINKS

Where to buy shellfish purple in 2016? Here

Brexit? Pulling the plug on high speed kettles here

The Edelstein Center for the Analysis of Ancient Artifacts here


4 Comments

Blue and Black

Indigo pigment

I’m trying to use my Japanese indigo (Persicaria tinctoria) before frost hits and kills it, and it won’t be long. I planted it late this year and have only managed 5 ‘picks’ which were made around 15 days apart, to allow for regrowth. I had enough prepared work to dye in the first vats, but for the last two ‘picks’ there was nothing ready. Not wanting to waste the precious crop I have endeavoured to make pigment, which basically involves reducing (by evaporating) the indigo, in its alkaline, oxygenated state, down to a thick paste, and then powder. This can be reconstituted into a dye vat at a later date.

A friend helped me with basic instructions but mostly I had to experiment. I probably wasted some indigo because I didn’t find a way of filtering efficiently. There also seems to be more leaf material in it than I hoped as it looked greeny-blue at paste stage. In a hot, dry climate like India shallow containers of liquid evaporate fast but here it took days, even on the top of the central heating boiler. It was a race to evaporate the goo before it went mouldy. I forgot to weigh the leaves but I think there was about 1 kg, which reduced to 5.3 grams of indigo pigment. There is a full explanation of the way I process Japanese indigo before the evaporation stage here so I won’t repeat the method.

Bideford Black

With pigment-making on my mind, I went to see the new exhibition at the Burton Art Gallery and Museum at Bideford. It’s called Bideford Black: The Next Generation and it centres on a rare and beautiful black earth pigment which emerges from the North Devon cliffs. In the past ‘Biddiblack’ (as it was known), has been used in paint manufacture, for making mascara, camouflaging military vehicles, in boatbuilding etc., and commercial mining for it continued until 1969. Artists working in a traditional manner, or with traditional materials, have valued its velvety dark strength and subtle tones. I had a chance to try it in the Burton Gallery last week, as can all visitors to the show. Bideford Black: The Next Generation is an unusual and unconventional exhibition and it’s certainly not traditional: participating artists responded to the pigment in diverse and often thought-provoking ways. Links below.

I wanted to find out if the pigment could be painted onto sized cloth and the exhibition organisers offered me some Bideford Black to take home and try out. Using a rare pigment 300 million years old was moderately inhibiting and my efforts also felt stuffy and old-hat after seeing the exhibition. Nevertheless, stuffy and old-hat is what I do, so I got on with it.

Using the soya milk recipe generously published online by John Marshall (see link below) I stretched and sized silk and cotton and worked experimental pieces. I wasn’t trying to make anything, just seeing what the pigment would do. The black was initially ground in a pestle and mortar and then mixed with more soya milk as a binder. I found that a small amount of gum arabic assisted in holding it together, stopping moisture bleeding outwards from painted shapes. The fabrics now need to cure.

Finally in this tale of blue and black, I was lucky to book a place on a monoprint workshop run at The Burton by Grizel Luttman-Johnson. We inked up perspex plates with Bideford Black printing pigment, which Grizel had prepared by grinding and mixing the Black with a binder and linseed oil. We then placed paper on the inked plate and made drawings on the reverse of the paper. Pressure caused ink to be picked up and an impression made on the front of the paper. The plate could be used again to pick up a ‘ghost print’, which created a kind of negative image. It was a very enjoyable day, well-led by Grizel.

Some links to the Blog for Bideford Black: The Next Generation 

The Geology of Bideford Black

The Nature of Black

Next Generation: Artists Selected

Launch and work information

Related links

Teachers’ Resource on North Devon Minerals

Grizel Luttman-Johnson

I am indebted to Michel Garcia and John Marshall for their freely published information:

Information on Michel Garcia’s DVD on natural dyes here

John Marshall instructions for making soy milk here


Leave a comment

Summer schools…

No posting recently because I’ve had a month of intensive teaching followed by intensive feet-putting-up. I ran three courses at Ardington in Oxfordshire and then four days in Nether Stowey at the studio of Janet Phillips.

At Ardington School of Crafts I taught my synthetic dyes shibori day, plus two one-day (repeated) courses on natural dyes. The natural dye course is a taster to a fascinating subject with some practical work at the dyepots, but also intended as an eye-opener to textiles seen at a stately home, museum etc. It’s even relevant to looking at paintings: I often wonder what dyestuffs were used on garments represented (with pigments) in a historic portrait. We had to move fast, with all fibre and fabric pre-mordanted, and an indigo vat ready to go. Most students dyed a scarf using simple immersion methods. We used madder, weld, cochineal and two indigo vats (one weak, one strong).

At Nether Stowey, I taught a three-day-dye course to several of Janet’s graduates from her Masterclass.  On day one they learned some shibori folds using steam-fixed dyes; day two gave them a taster of wax resist, and day three was a full day with indigo. At the same time as I taught dyes, Janet was teaching ‘shibori on the loom’ to students from the London Guild. In this technique, removable weft threads are incorporated into the weaving. They are later used to draw up the cloth tight. According to how the shibori threads are woven, patterns emerge after the piece is dyed, then opened up.

Students used coloured and plain warps, on different pieces. Some of this shibori work was put into my indigo vat on day four; others used Janet’s fibre-reactive dyes which were applied by placing woven pieces into a short length of gutter (brilliant idea) and painting by hand.  I am used to folding, tying and clamping for indigo work and although I have seen loom shibori before, I haven’t watched the whole process from start to finish. A combination of enthusiastic and knowledgeable students,  Janet’s teaching and the imaginative arrangements made by Janet and Nigel made for a very enjoyable week. Did I mention glorious weather?


Many thanks to students at Ardington and Nether Stowey for permission to use images of their work.

Teaching in 2015

Dates of next years’ courses are accumulating. I will be tutoring two courses at the Association of Guilds of Weavers, Spinners and Dyers Summer School in August 2015 at Moreton Morrell. Details of the entire event can be seen here and there are details on this page.

I am teaching a new one-day introductory course in wax-resist at Ardington School of Crafts in 2015 as well as days on shibori scarves, indigo dyeing.  The Vibrant World of Natural Dyes proved very popular this year and I will be teaching it again in 2015: I have one course at West Dean scheduled for March. If you want to sign in, do so soon because my October course has been full since April.


2 Comments

Gall-ink…

Last week I found some oak-galls, or oak apples, in a hedge. They were easy to spot after the final fall of leaves. Oak galls are nothing to do with acorns. They result from  chemicals injected into a developing leaf bud when a female gall wasp lays eggs.

photo 4

Oak galls spotted in a hedge

The galls contain high proportions of tannin and, mixed with iron salts, were historically the source of a purple-black or brown ink. The comprehensive and scholarly Iron Gall Ink Website has an ink history here. The fourth century  Codex Sinaiticus, one of the most complete versions of the Bible, was written in iron gall ink, in Greek. Follow the link to read about a great collaborative project, and an entire website devoted to the Codex. Because the manuscript has been broken up and spread worldwide, the project exists to reunite it digitally. 

Anyway, I picked the galls and am soaking them out. Apparently I can use a solution of rusty nails to make up the ink, according to Wikipedia’s recipe, and I shall try it in the New Year when I have found my Gum Arabic.

All this think-ink reminded me of an encounter with shaggy ink caps (Coprinus comatus) a few Novembers back. I found an ink-cap-ink recipe – and the delightful word deliquesce – on Regia Anglorum’s site here, recipe number 3. No cauldrons were available that week, so a plastic pot emptied of E numbers sufficed for deliquescing. The fungi did their thing and weren’t particularly smelly at first. They just looked a bit sinister (shaggy ink caps aren’t poisonous, although I wasn’t planning an omelette). I put the increasingly soggy black mixture in the corner of my studio and forgot about it. Until it began to make its presence felt. 

It produced a putrid, mouldy, rotting smell which was murderously  incriminating. I poured the mixture through a sieve at arm’s length and improvised a cooking put from an empty tin. If the smell was bad before, nothing compared to the hellish fumes that arose from the pot once on a stove (some recipes suggest that boiling reduces and blackens the mixture). The mixture obediently reduced to a ghastly, shiny black mucus. The stench was so bad I had to hold my breath to stop myself gagging. To hell with research like this – I couldn’t live with the smell. I poured off the mixture and found a large paintbrush and some paper and made a simple snot drawing (see below). I then introduced the mixture to the far corner of the garden.

The conclusions the Ink Cap Escapade were:

1.That the recipes I found are incomplete, or some additional ingredient neutralised the decomposition and the smell. Vinegar, perhaps? As the fungus is only found in autumn, there must have been a way to preserve the ink through the year without knocking out an entire community of Cistercians with the pong. Or maybe I’ve stumbled across a new cause of the Reformation.

2. A lot of ink caps would be needed to make a good black and you couldn’t use a quill with the snot-like stuff I made. It needs to be blacker and more runny. It was too thick for a small paintbrush. Maybe I boiled it too hard.

3. Perhaps monks had no sense of smell.