
With the sun shining last week I enjoyed a socially-distanced dye-day with friend and colleague, Jane Deane. We wanted to test and compare three sets of indigo dye plants, grown from seed here in Devon, by making small dye vats and dyeing different fibres.

In the image above you will see A on the left: an elongated leaf, white flowered indigo. B, in the centre, has elongated leaves and pink-flowers. On the right is C: a broadleaf indigo with pink flowers
The seeds were generously supplied to me by Nature’s Rainbow in the spring, and they have published their own blog on the identification and source of these seeds to be read along with this one. You can read it by following the links at the base of the page. Because we only have a small plot to grow dye plants, the three sets of seedlings were of necessity planted out side by side in blocks as shown above, which meant that the growing conditions were the same for each plant. I planted them out in late May, just after a very late set of frosts which would have killed them. Using identical quantities of leaves and the same dye procedures should give a reasonably good comparison for my soil, the English climate and our summer.
For each plant type, I used 125 grams of stripped leaves and did a 1 hour extraction in a litre of rainwater, heating the leaves slowly to just under 60 C. Leaves were crushed with a pole and the mixture allowed to cool overnight. In the morning Jane joined me and we squeezed out the leaves, sieved the sherry-coloured mixtures, adjusted the pH to 9 and oxygenated each by pouring from one container to another. Containers (Kilner jars) were heated to just below 60 C. We used a commercial reduction chemical (thiourea dioxide) because we needed to complete the tests in one day.
We used identical samples of wool, silk and cotton for each ‘vat’. All samples for each individual vat were put in together.
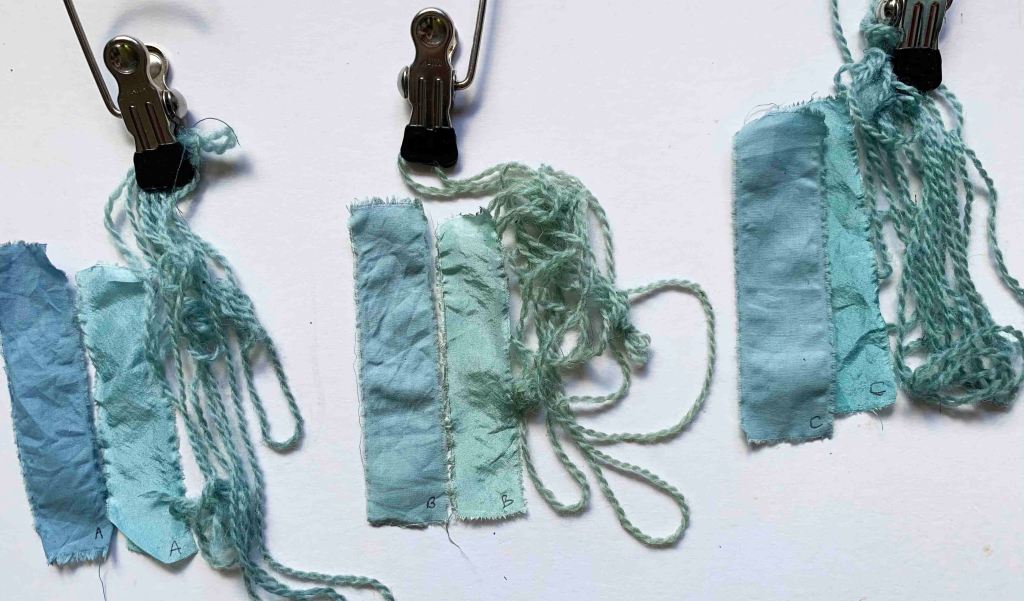
After one dip (see above) there were several differences in hue and intensity although the accuracy of colour here isn’t perfect. B appears to have dyed less well overall and this shows particularly on wool. The silk of C is more intense than either A or B, and the cotton in A appears the strongest.
We gave all samples 4 dips of ten minutes each.
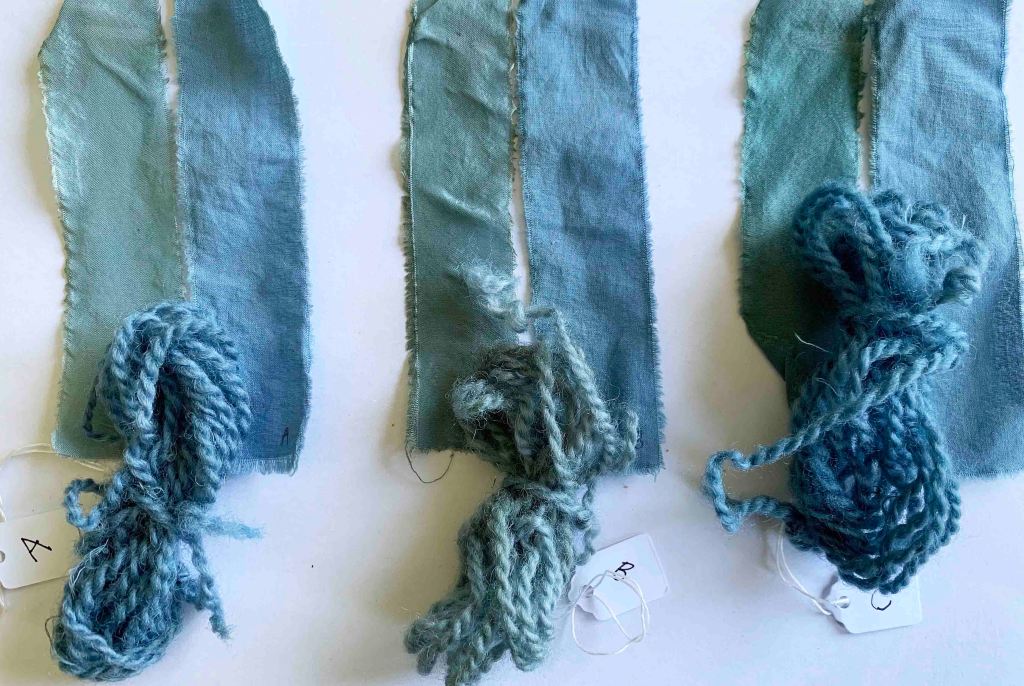
Please note that I placed the silks on the left and cottons right in the image above, so they aren’t in the same order as the one-dip image. Sorry about that. The colour, again, isn’t as accurate as I’d like but shows the very real difference in wool dyeings. The cottons at A and C were more similar after four dips. The silk at C is beautiful and has a more turquoise cast than the other two.
You’ll have to take my word for it, but in real life the samples of C, the broadleaf, appear more intense and samples of B least intense.
I intend to repeat the dyeings with more leaf material next time and do a longer sequence of dips. I will also weigh fibre samples to make sure they are identical because the wool would have been heavier in this test, and therefore ‘grabbing’ more of the available indigo.
Ashley Walker of Nature’s Rainbow has kindly annotated my top image with his initial interpretations of the Japanese names for the three sets of plants (see below), but please read his very interesting and informative blog post here

Links
Aquarelle Ardington Ardington School Ardington School of Crafts Association WSD Australian Journey blogging cochineal Devon Guild of Craftsmen DHA Eastern European kystka endangered plants environment Exhibitions Fibre History indigo Jenny Dean Journal for Weavers Spinners and Dyers Leewood madder mordant natural dye natural dyes nonsense orchil orchil and dye research Persicaria tinctoria printed fabric reclaimed dye Rubia cordifolia Scotland shellfish purple shibori steaming silk tannins teaching Twitter Tyrian Purple wax wax resist West Dean West Dean College Wood & Bedford Yorkshire Chemicals
