
Like many, I felt the urge to grow-our-own veg at the panicky beginning of lockdown. However, I decided that were food to run short, our veg patch wouldn’t sustain us for long. So I took a chance and grew indigo.
In this previous post you can read about how I grew three types of Japanese indigo over the summer and compared some dyed results. I worked on wool and silk.
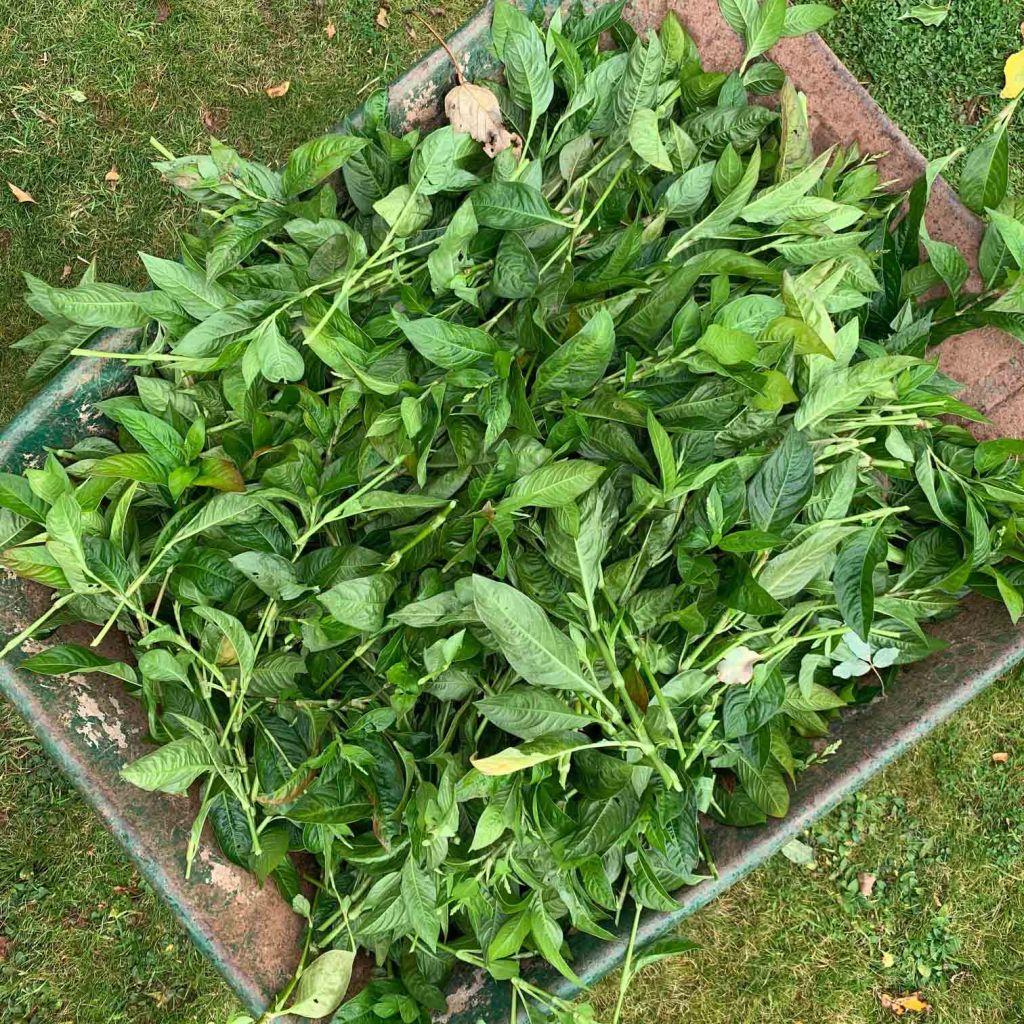
With the fragrant assistance of 6 sacks of chicken poo I produced my best crop of indigo ever. It grew tall and bushy and cropped heavily in August and September, until flowers started to form. (The general view is that indigo content starts to wane after flowering starts). As the plants are frost sensitive and autumn is definitely here, I am swiftly using up part of the remaining crop to make pigment, preserving the most advanced flowering stems to produce seed. I am obtaining good strong blue from the extractions despite the presence of flowers. At this stage I am picking and mixing leaves from all the plants regardless of type.
Normally in late summer, groups of local friends plus grandchildren gather to help process each other’s leaves and have fun dyeing day together. It couldn’t happen this year, for obvious reasons. But my crop has been so successful that pigment making has been a very lengthy and solitary process – except when our useful collie intervenes with her personal views on processing.
Many rather more experienced dyers have written about preparing pigment and I have been specially reliant on the advice of Jenny Balfour Paul and Jane Deane, plus the book ‘Singing the Blues’ by John Marshall. Versions tend to differ slightly, but I have produced some respectable-looking pigment.

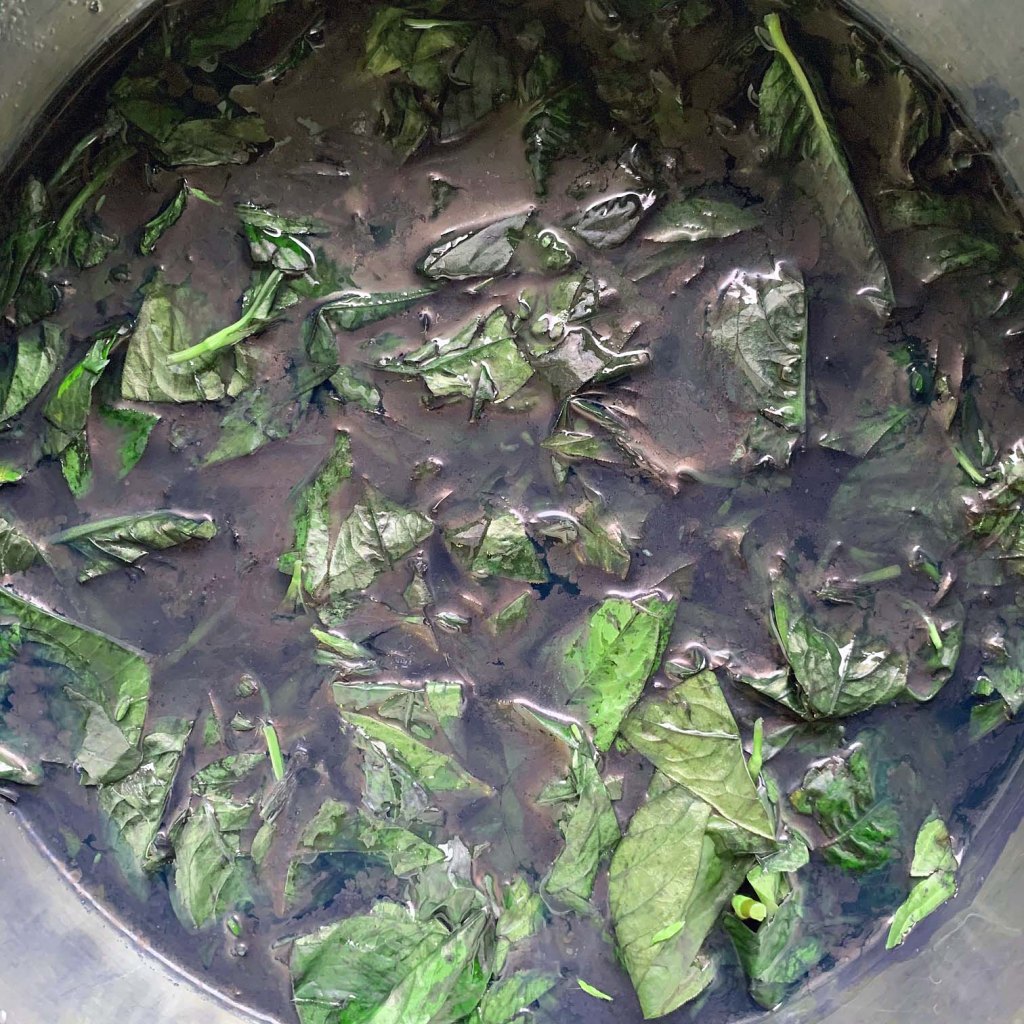
On the left above you can see stripped leaves in a stainless steel bucket. On the right the leaves are shown post-extraction. Note the blue bloom on the surface


Left above: squeezed out leaves can be composted. On the right, lime has been added and the mixture aerated
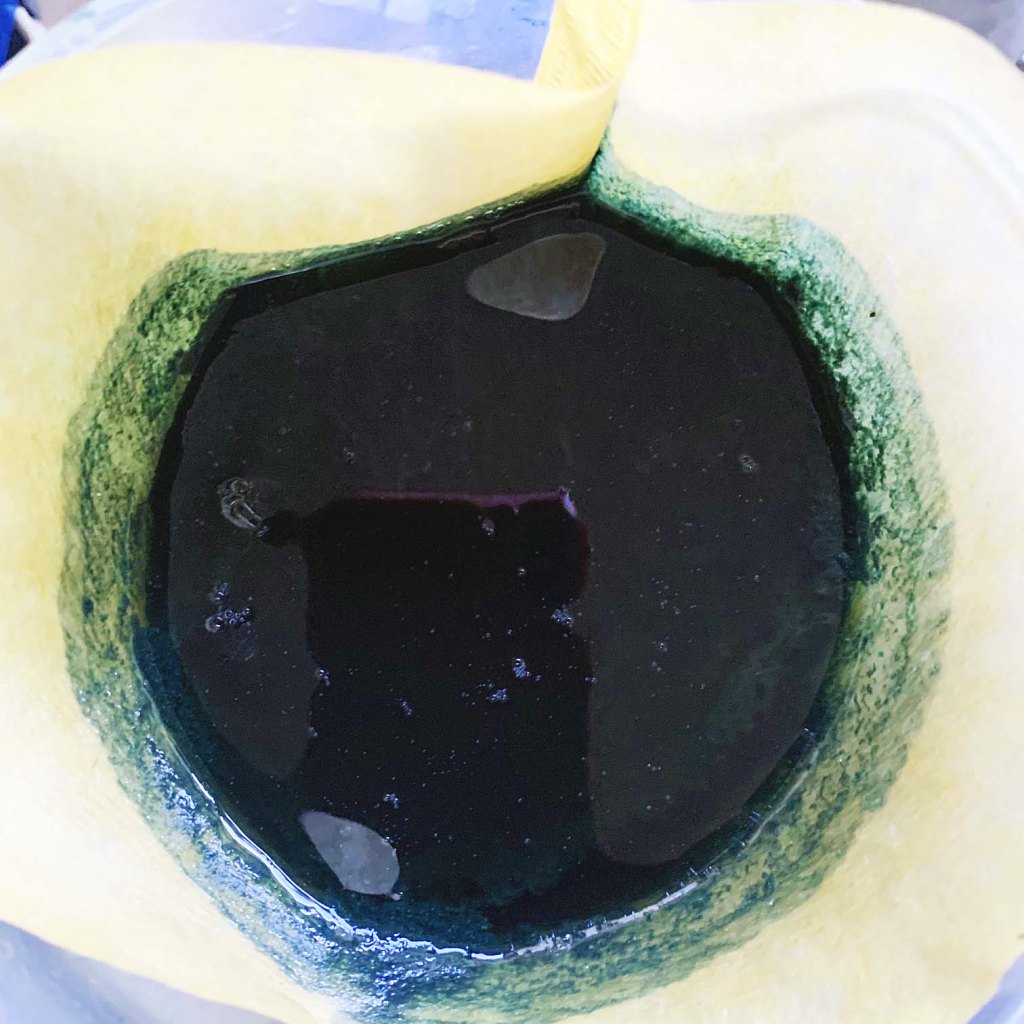

On the left above: mixture is being passed through a coffee filter. On the right the dried paste is being ground back into powder.
The pigment making process I used
- Leaves are stripped from stems and placed in a stainless steel vessel with enough rainwater to cover. Mixture is heated to no higher than 60C (140 F) over about an hour, held for a further hour, then left to cool overnight. I pound the leaves gently with a wooden pole. Leaves are sieved out, and squeezed over the bucket. Squeezed leaves can be composted.
- Hydrated lime is added to the mixture: I use a teaspoon in my 8 litre vat. I then aerate the mixture with a balloon whisk, or with the wooden pole, or by passing the mixture from one bucket to another. It becomes foamy at the top and the foam will slowly change to blue.
- I usually transfer the bucket contents to several smaller vessels. Once the mixture settles it is possible to (carefully) pour off the clear liquid at the top of each vessel.
- The remaining contents are passed through a coffee filter resting in a plastic funnel over a coffee jar, or similar. If the liquid dripping through appears very blue I pass it through again. When the filter only contains blue paste I open it up on a tray and gently scrape off the paste with a spatula.
- The paste is dried: I put more on the top of the boiler where it is kept gently warm all the time.
- Mixture is ground in a pestle and mortar. I use a facemask for this stage: the powder easily becomes airborne.
Links
Jenny Balfour Paul Indigo: Egyptian Mummies to Blue Jeans
John Marshall ‘Singing the Blues’
Nature’s Rainbow: Susan Dye and Ashley Walker’s website
Jane Deane’s website

November 21, 2020 at 11:47 am
Hello Isabella – Persicaria certainly responds to plenty of manure! I always extract the pigment from both persicaria and woad as you get a purer blue than when dyeing with the liquid., and you can achieve darker shades. However, I usually leave it as a paste rather than drying it to a powder as it is rather tedious to dry and grind it, and sometimes difficult to re-wet it to dye with. I have just got some seeds from Bailiwick Blue (who have 3 named strains of persicaria) to grow it next year for the first time since moving to Wales: I hope we have enough sunshine for it.
Kev. (Online Guild)
November 21, 2020 at 3:17 pm
Thank you Kev. Interesting to hear that you always extract, and why. How do you keep your paste from going mouldy?